
To scan a document without a dedicated scanner, use your phone’s built-in scanning tool — on iPhone, open Notes, tap the camera icon, and choose Scan Documents; on Android, open Google Drive, tap the plus icon, and choose Scan. Both automatically detect the document’s edges, correct the perspective, and produce a clean, flat-looking scan saved as a PDF or image. Good, even lighting matters more for the final result than which specific app or scanner is used.
Scanning methods, easiest to most involved
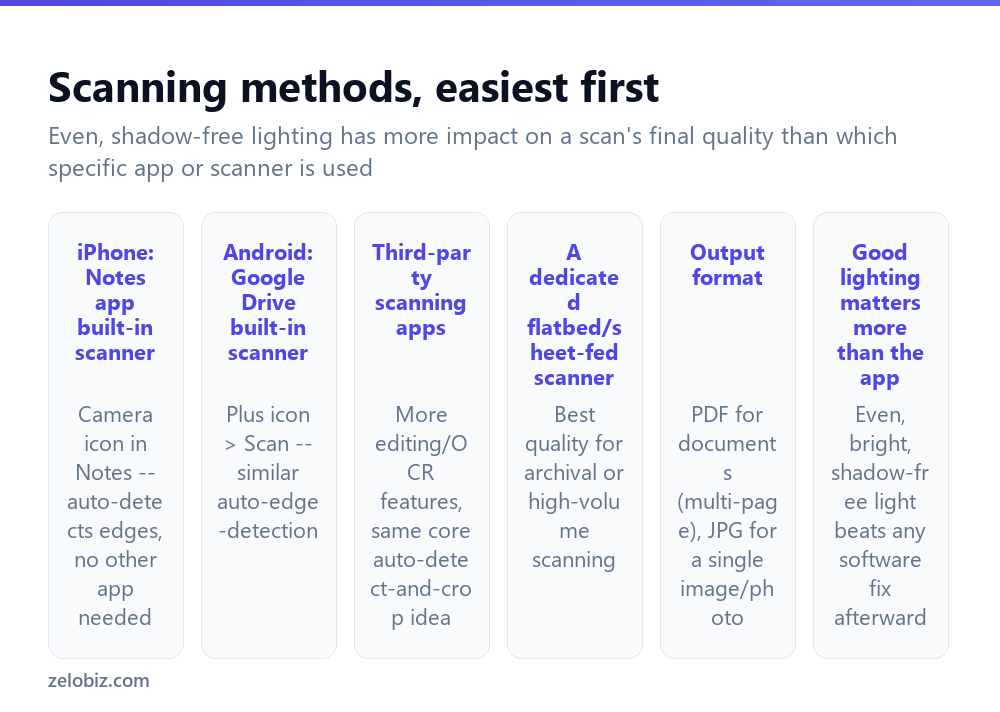
iPhone’s Notes app has a genuinely capable scanner built in with no other app needed — the camera icon in Notes’ toolbar includes a Scan Documents option that auto-detects edges and corrects perspective automatically.
Android’s Google Drive app offers similar built-in functionality — the plus (+) icon includes a Scan option with comparable auto-edge-detection.
Third-party scanning apps (various free and paid options on both platforms) build on the same core auto-detect-and-crop concept, typically adding extra features like OCR text recognition, cloud storage integration, or more advanced editing tools — worth considering if the built-in options feel limiting for regular, heavy use.
A dedicated flatbed or sheet-fed scanner still produces the highest, most consistent quality, particularly for archival purposes, bulk scanning many pages, or documents where precise color accuracy matters — but for the vast majority of everyday scanning needs, a phone’s built-in scanner is genuinely good enough.
Lighting affects the final result more than the choice of app or device. Even, bright, shadow-free lighting — natural daylight near a window works well — produces a noticeably better scan than any software enhancement can fully correct for afterward.
Scanning with an iPhone
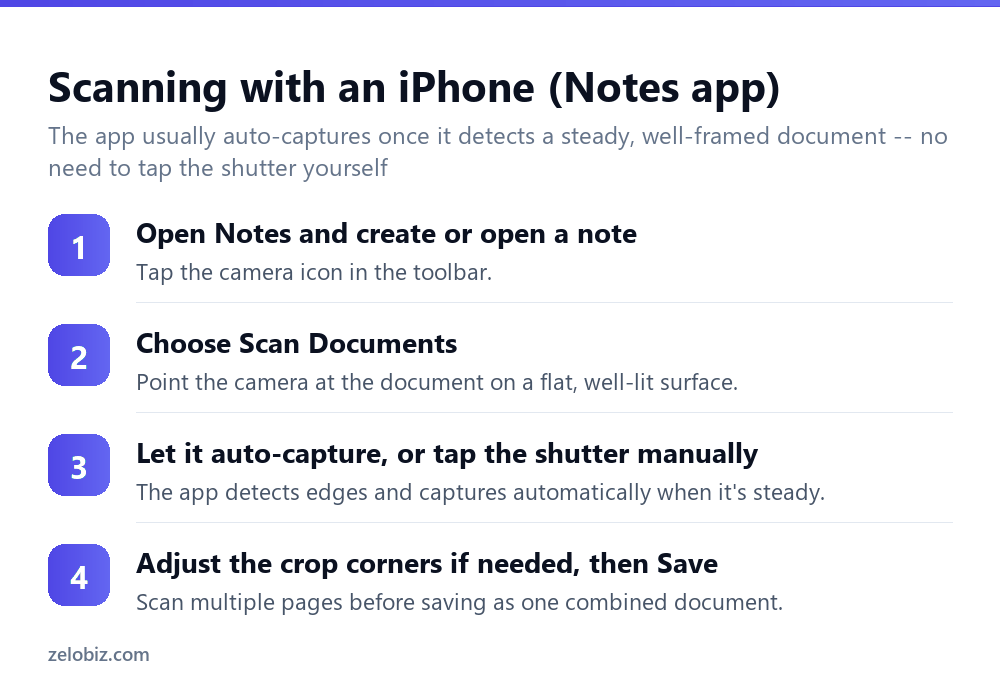
Open Notes, create a new note or open an existing one, and tap the camera icon in the toolbar above the keyboard.
Choose Scan Documents from the options that appear.
Point the camera at the document laid flat on a well-lit surface. The app typically auto-captures once it detects the document’s edges clearly and the camera is held steady — or tap the shutter button manually if you’d rather control the exact moment yourself.
Adjust the detected crop corners by dragging them if the automatic detection wasn’t quite accurate, then tap Save. For a multi-page document, continue scanning additional pages before saving — they combine into a single PDF rather than becoming separate individual files.
Scanning with Android (Google Drive)
Open Google Drive, tap the + (plus) icon, and choose Scan. Point the camera at the document; the app detects edges automatically, similar to the iPhone process.
After capturing, options typically appear to crop manually, rotate, adjust the color/contrast filter, or add another page before saving the finished scan directly into Google Drive.
Getting a genuinely clean scan
Lighting is the single biggest factor — even, diffused light with no harsh shadows or glare produces a dramatically cleaner result than direct overhead lighting or a shadow cast by your own phone or hand while capturing.
A contrasting background — a dark surface under light-colored paper, or vice versa — helps the app’s edge-detection algorithm find the document’s boundaries more reliably and accurately than a background that’s a similar color or texture to the paper itself.
Holding the phone directly overhead, parallel to the document rather than at an angle, minimizes the perspective distortion the app then has to correct for — less correction needed generally means a cleaner, sharper final result.
Choosing PDF vs image format
For a genuine multi-page document — a contract, a form, several related pages — PDF is the right output format, since it keeps every page together as one combined file rather than several disconnected images.
For a single item — a receipt, one photo of a whiteboard, a single-page note — a plain image file (JPG or PNG) is equally fine and sometimes simpler to work with, particularly if it’s headed somewhere (a chat message, a quick reference) that doesn’t need PDF’s document-specific structure.
A worked example: scanning a multi-page contract for filing
Say you need to scan a signed five-page rental agreement to send to a landlord and keep a digital copy for your own records.
Lay the first page flat on a table near a window during daylight, angling it to avoid direct glare across the paper’s surface. Open the phone’s scanning tool, position the camera directly overhead, and let it auto-capture once the edges are clearly detected. Rather than saving immediately, tap to add another page, repeat the same positioning process for pages two through five, and only save once all five are captured — this produces one five-page PDF rather than five separate single-page files that would need combining afterward.
Before sending, open the resulting PDF and check every page specifically for legibility, particularly any signature or small print near the edges, since edge-detection occasionally crops slightly too aggressively on a page with less border margin than others. Fix any page individually by re-scanning just that one if needed, rather than redoing the entire five-page document over a single problem page.
For your own records, save the finished PDF with a clear, specific filename — something like “Rental-Agreement-[Address]-[Date].pdf” — rather than the generic default filename a scanning app typically assigns, since a folder full of similarly-named generic scans becomes hard to search through later when you actually need to find a specific document.
Scanning receipts and small items
For something smaller than a full page — a receipt, a business card, a small note — the same scanning tools work fine, though the auto-edge-detection sometimes struggles more with a small item’s proportionally larger empty background relative to the item itself. Placing a small item on a plain, contrasting surface (a dark placemat under a white receipt, for instance) generally improves edge detection more reliably than trying to crop manually after an inconsistent automatic detection.
Many scanning apps also offer a specific “receipt” or “business card” mode, distinct from the general document mode, tuned for smaller items and sometimes including automatic text extraction for things like a phone number or total amount — worth checking for in whichever app is being used if scanning small items regularly.
Scanning something that won’t lie flat
For a document with a natural curve or fold — a page from a bound book, a receipt that’s been crumpled and smoothed back out — getting it as flat as realistically possible before capturing still produces a meaningfully better result than scanning it curved, even though most scanning apps include some perspective correction that helps compensate for minor unevenness. For a bound book specifically, pressing the spine down firmly and scanning one page at a time, rather than trying to capture two open pages at once, generally produces cleaner, more legible results.
When a scan comes out unusable
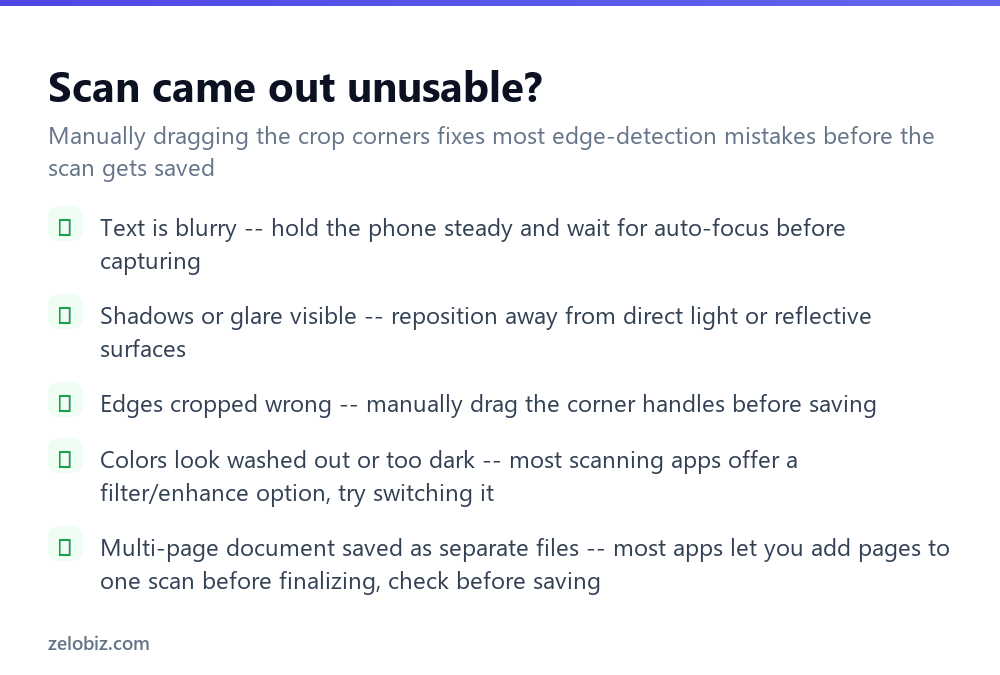
Text is blurry — hold the phone genuinely steady and give the camera a moment to auto-focus before the capture actually happens; a rushed capture with any camera movement is the most common cause of blurry scanned text.
Shadows or glare are visible in the scan — reposition relative to the light source, or move away from any reflective surface (glossy paper, a laminated page) that’s catching and reflecting direct light back into the camera.
Edges were cropped incorrectly — manually drag the corner handles to the actual document edges before saving, rather than trusting automatic detection blindly on a document with an unusual shape or a background that made detection harder.
Colors look washed out or too dark — most scanning apps offer a choice of enhancement filters (black and white, grayscale, color, photo); try switching between them, since the default filter isn’t always the best fit for every specific document.
- ✓Use your phone’s built-in scanner before assuming you need a dedicated device
- ✓Prioritize even, shadow-free lighting over any specific app or setting
- ✓Hold the phone directly overhead, parallel to the document, when capturing
- ✓Manually adjust crop corners rather than trusting automatic detection blindly
- ✓Use PDF for multi-page documents and image format for single items
- ✕Assuming a dedicated scanner is required for a genuinely usable result
- ✕Scanning in harsh direct light or with a visible shadow cast across the document
- ✕Capturing at an angle rather than holding the phone directly overhead
- ✕Trusting automatic edge detection without checking it on an unusually shaped document
- ✕Saving a multi-page document as separate individual image files instead of one PDF
Frequently asked questions
How do I scan a document with my phone?
On iPhone, open Notes, tap the camera icon, and choose Scan Documents. On Android, open Google Drive, tap the plus icon, and choose Scan.
Do I need a dedicated scanner to scan a document?
No, for most everyday needs. A phone’s built-in scanning tool with good lighting produces a genuinely usable result comparable to many standalone scanners.
Should I scan a document as PDF or an image file?
PDF for multi-page documents, since it keeps every page together in one file. A plain image (JPG/PNG) works fine for a single item.
Why does my scanned document look blurry?
The phone likely moved during capture, or auto-focus didn’t complete. Hold it steady and wait for focus before the capture actually triggers.
How do I get rid of shadows or glare in a scan?
Reposition relative to the light source, or move away from reflective surfaces catching direct light. Even, diffused lighting produces the cleanest result.
Can I scan multiple pages into one document?
Yes. Most scanning apps, including the built-in iPhone and Android tools, let you add several pages before saving them all as a single combined PDF.
- →Turn a scanned image into a PDF: how to convert JPG to PDF
- →Send several scans together compressed: how to zip a file
- →Fix a photo’s format for wider compatibility: how to convert HEIC to JPG
- →Recover a scan if it goes missing: how to recover deleted files