
To convert JPG to PDF on a Mac, select the image(s) in Finder, open them in Preview, and choose File › Export as PDF — selecting multiple images beforehand combines them into one multi-page PDF. On Windows, open the image, click Print, and choose Microsoft Print to PDF as the printer instead of a physical one, which saves it as a PDF file rather than printing on paper. Both methods are built into the operating system, with no extra software needed.
Free ways to convert, by platform
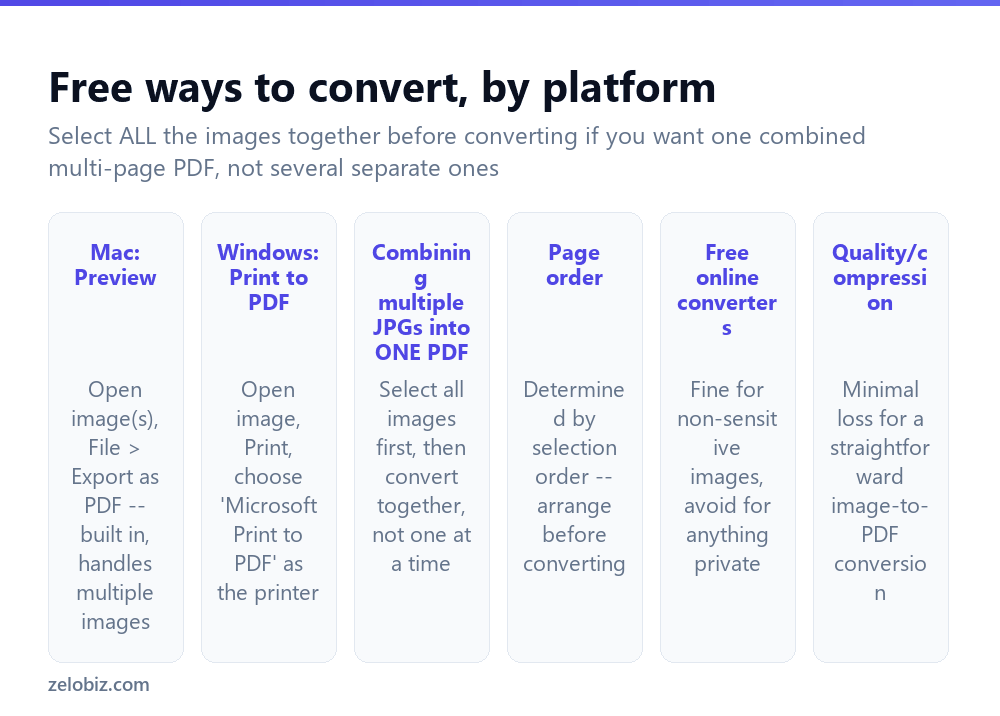
Mac: Preview — select one or more JPG files, open them in Preview, and use File › Export as PDF. This is genuinely built in, requires no other software, and handles combining several images into a single multi-page PDF in one step.
Windows: Print to PDF — open the image in Photos or any image viewer, choose Print, and select Microsoft Print to PDF as the destination printer instead of an actual physical printer. This is a genuine, built-in conversion method, not merely a workaround — it produces a real PDF file saved to disk rather than printing anything on paper.
Free online converters handle this too, useful when neither built-in method is convenient — upload the image(s), download the resulting PDF. As with any online file tool, avoid this route for anything genuinely sensitive, since the file passes through a third-party server during conversion.
To combine several JPGs into one PDF rather than several separate single-page PDFs, select all the images together, before opening them or starting the conversion process — converting them one at a time produces one PDF per image instead of a single combined document.
Converting on a Mac with Preview
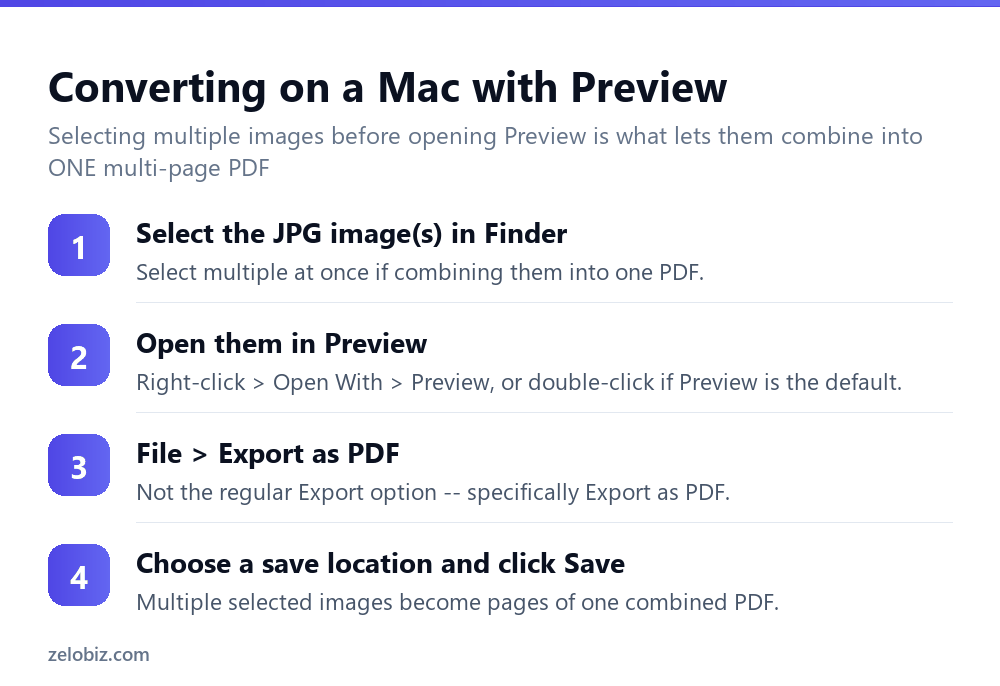
Select the JPG image or images in Finder — select several at once (Cmd-click for individual files, Shift-click for a consecutive range) if the goal is one combined multi-page PDF.
Open them in Preview — right-click, Open With › Preview, or simply double-click if Preview is already the default app for JPG files.
File › Export as PDF — specifically this option, not the plain Export option, which offers a different set of format choices entirely.
Choose a save location and filename, then click Save. If multiple images were selected and opened together, they become sequential pages of one combined PDF, in the order they were selected.
Converting on Windows with Print to PDF
Open the JPG image in the Windows Photos app or any image viewer, and choose Print (Ctrl+P works in most viewers).
In the printer selection dropdown, choose Microsoft Print to PDF instead of any physical printer listed.
Click Print (the button’s label doesn’t change even though it’s actually saving a file, not printing on paper) — a Save As dialog appears, letting you choose the destination filename and folder for the resulting PDF file.
For combining multiple images into one PDF this way, most image viewer apps offer a way to select several images and print them as a batch in one job, though the exact steps vary somewhat by which specific viewer app is being used.
Page order when combining multiple images
The order pages appear in the finished PDF is determined by the order the images were selected (or listed, depending on the specific tool) before conversion, not by filename or any other automatic sorting. If a specific page order matters, arrange or rename the source image files so they sort correctly (numbering them 01, 02, 03, for instance) before selecting and converting them, rather than expecting to reorder pages after the PDF has already been created.
A worked example: submitting scanned receipts as one expense report PDF
Say you photographed eight receipts on your phone for a monthly expense report and need to submit them as a single PDF, in the correct chronological order, rather than eight separate image files.
First, rename the source image files so they sort correctly — “01-receipt.jpg”, “02-receipt.jpg”, and so on through “08-receipt.jpg” — since relying on original camera filenames or capture timestamps to sort correctly isn’t always reliable across every tool. On a Mac, select all eight in that renamed order in Finder (sorted by name, which will now match the intended sequence), open them together in Preview, and use File, Export as PDF to combine them into one eight-page document.
On Windows, since Print to PDF handles one image at a time through a typical photo viewer, either use a viewer that supports batch printing multiple images as one PDF job, or use a free online JPG-to-PDF combiner that accepts multiple files and lets you arrange them in order before generating the combined PDF — genuinely useful for this specific multi-image-to-one-PDF case on Windows, where the built-in tools are somewhat less convenient than Preview’s for combining many images at once.
Before submitting, open the finished PDF and verify all eight pages appear in the correct order and each receipt is legible — particularly the total amount and date on each one, since that’s exactly the information an expense reviewer will actually need to read clearly.
Reducing PDF file size after converting
If the resulting PDF from several high-resolution photos is larger than a specific upload or email limit allows, compress it afterward rather than trying to reduce the source JPG quality before conversion — Acrobat’s Reduced Size PDF tool, or Preview’s own export quality settings on a Mac, both handle this directly on the finished PDF. This keeps the workflow simpler: convert first at full quality, then compress only if the resulting file size actually turns out to be a problem, rather than guessing at an appropriate quality reduction upfront before knowing if it’s even necessary.
Converting a photo taken specifically for document purposes
If the JPG in question is actually a photo of a physical document — rather than a genuine photograph — taken with a regular camera app instead of a dedicated scanning tool, the result will generally look noticeably less clean than a proper scan, even after converting to PDF. Perspective distortion, uneven lighting, and visible background clutter all carry straight through into the PDF unchanged, since converting to PDF doesn’t clean up or correct any of these issues on its own. For anything that started as a photo of a physical document, using an actual scanning app (covered in a separate guide) before converting to PDF, rather than converting a plain camera photo directly, produces a meaningfully cleaner and more professional-looking result.
When something’s not going as expected
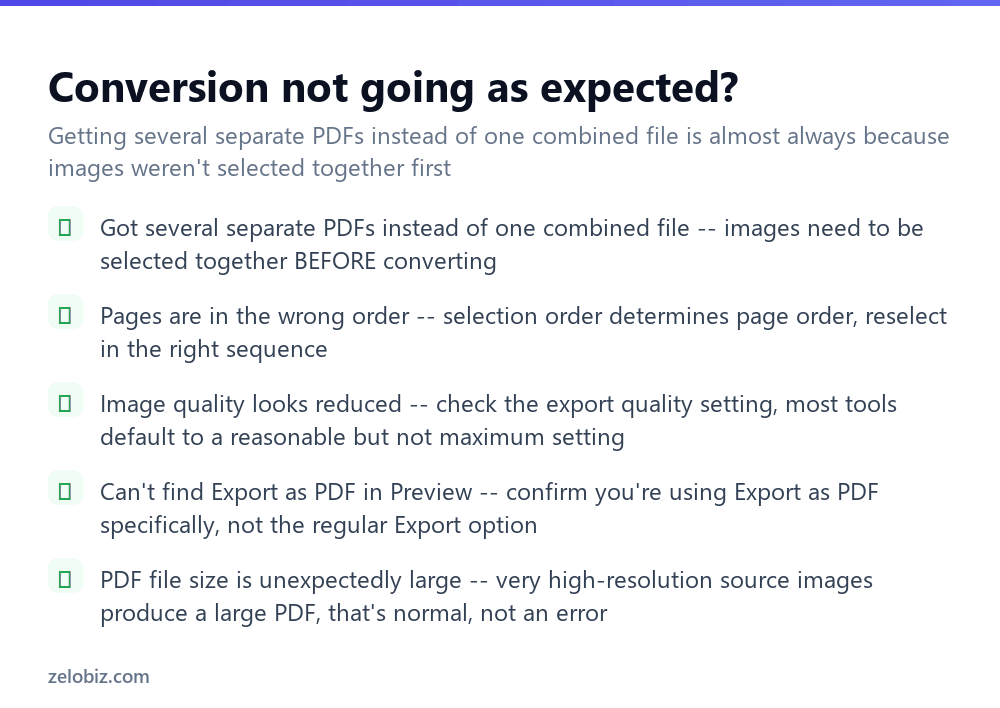
Got several separate PDFs instead of one combined file — the images weren’t selected together before starting the conversion. Redo it, selecting every image at once before opening or converting them.
Pages are in the wrong order — selection order determines page order; reselect the images in the correct sequence, or rename the source files to sort correctly by filename first.
Image quality looks reduced in the resulting PDF — check any quality or compression setting offered during export; most tools default to a reasonable but not maximum setting, which is adjustable if higher quality specifically matters for that document.
Can’t find Export as PDF in Preview — confirm you’re looking specifically for that option and not the plain “Export” menu item nearby, which offers a different set of format choices (JPEG, PNG, TIFF) rather than PDF directly.
The resulting PDF file is unexpectedly large — this is normal, not an error, when the source JPG images were themselves high-resolution; a large image produces a correspondingly large PDF unless deliberately compressed afterward.
- ✓Select all images together before converting if you want one combined PDF
- ✓Use Preview’s Export as PDF on Mac, or Print to PDF on Windows — both free and built in
- ✓Name or arrange source images to sort in the correct order before converting
- ✓Check the export quality setting if the result looks lower quality than expected
- ✓Avoid online converters for anything genuinely sensitive
- ✕Converting images one at a time when the goal was a single combined PDF
- ✕Assuming pages will sort into the right order automatically after conversion
- ✕Confusing Preview’s plain Export option with Export as PDF specifically
- ✕Being surprised by a large PDF file size from high-resolution source images
- ✕Uploading private images to an unfamiliar online JPG-to-PDF converter
Frequently asked questions
How do I convert a JPG to PDF on a Mac?
Select the image in Finder, open it in Preview, and choose File, Export as PDF — built in, no extra software needed.
How do I convert a JPG to PDF on Windows?
Open the image, choose Print, and select Microsoft Print to PDF as the printer instead of a physical one — it saves a PDF file rather than printing on paper.
How do I combine multiple JPGs into one PDF?
Select all the images together before opening or converting them, not one at a time — this combines them into a single multi-page PDF.
Why did converting my images create several separate PDFs instead of one?
The images weren’t selected together before conversion. Redo it, selecting every image at once first.
What determines the page order when combining images into a PDF?
The order the images were selected, not their filenames. Rename files to sort correctly, or select them in the intended order, before converting.
Is it safe to use a free online JPG to PDF converter?
For non-sensitive images, yes. For anything private, avoid it since the file passes through a third-party server during conversion.
- →Get an image-ready file from an iPhone photo: how to convert HEIC to JPG
- →Digitize a paper document first: how to scan a document
- →Shrink an image before converting: how to resize an image
- →Bundle several converted PDFs together: how to zip a file