
Here’s how to share screen on Zoom: click “Share Screen” in the meeting toolbar at the bottom of the window, select what to share — a specific window or application, your entire desktop, or a defined portion of the screen — check “Share Sound” in the bottom-left if you’re sharing a video or anything with audio, and click “Share” to begin. A green border around your screen indicates what’s currently visible to everyone else in the meeting.
Sharing options, and what each actually does
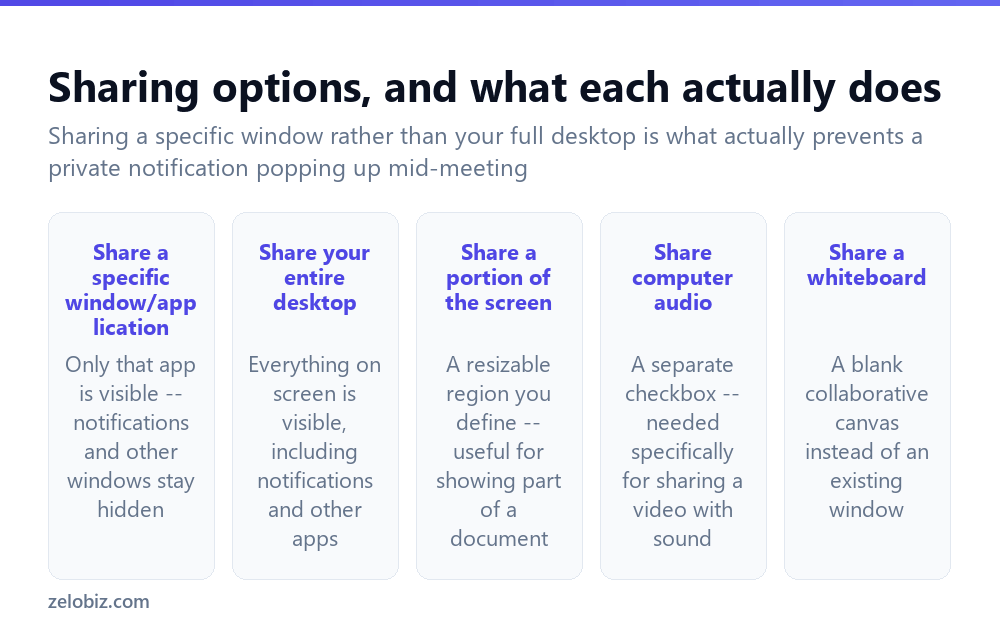
Share a specific window/application — only that particular application is visible to others; anything else on your screen, including notifications and other open windows, stays completely hidden from view.
Share your entire desktop — everything currently on your screen is visible, including any notifications that pop up and any other application you switch to during the share, which carries genuine risk of accidentally showing something private.
Share a portion of the screen — a resizable region you manually define, useful for showing just part of a document or a specific area without sharing an entire window or desktop.
Share computer audio — a separate checkbox, specifically needed when sharing a video or anything else that includes sound, since screen sharing alone doesn’t automatically include audio.
Share a whiteboard — opens a blank, collaborative canvas that meeting participants can draw or write on together, rather than sharing an existing window.
Sharing a specific window instead of your entire desktop is what actually prevents an embarrassing private notification from popping up mid-meeting — it’s a small choice at the start of a share that avoids a genuinely common and avoidable mistake.
Sharing your screen
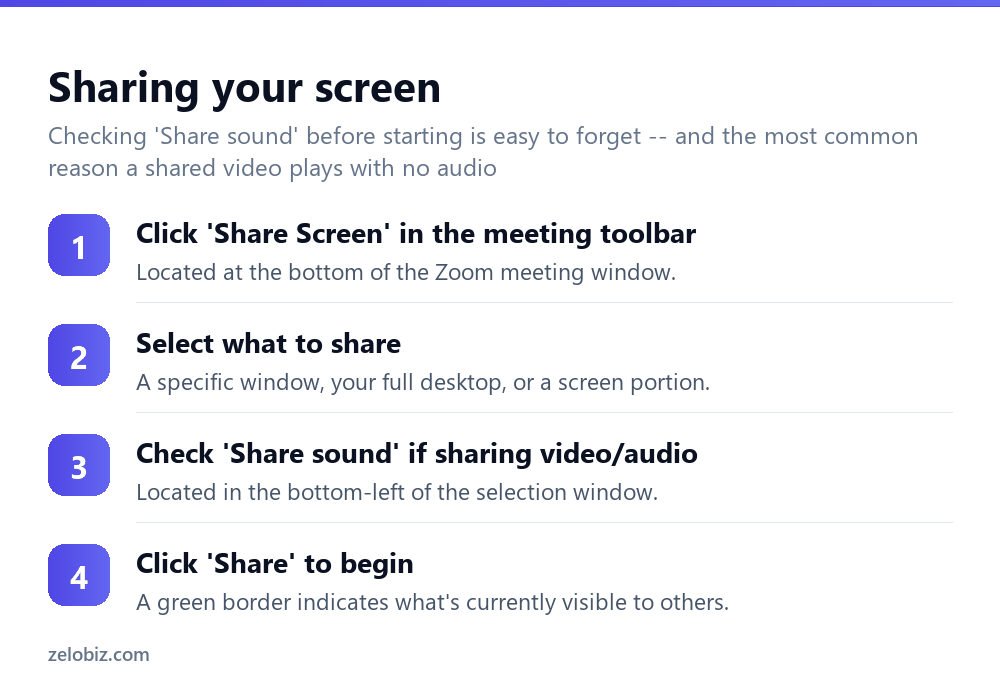
Click “Share Screen” in the meeting toolbar, located at the bottom of the Zoom meeting window.
Select what to share — a specific window, your full desktop, or a defined screen portion, from the options displayed.
Check “Share Sound” in the bottom-left of the selection window if you’re about to share anything with audio — this is easy to forget and is the single most common reason a shared video plays with no sound for other participants.
Click “Share” to begin — a green border appears around whatever is currently being shared, giving a clear visual confirmation of exactly what other participants can see.
Sharing from a phone or tablet
The Zoom mobile app also supports screen sharing, accessed through the “Share Content” option in the in-meeting controls, though the available options are somewhat more limited than on desktop — typically sharing the entire device screen rather than a specific app individually, along with options to share photos or documents directly from the device without a full screen share at all.
Stopping a screen share
A red “Stop Share” button appears at the top of the screen (or within the meeting controls, depending on the specific Zoom client version) while actively sharing — clicking it immediately ends the share and returns the view to the normal meeting layout for everyone. It’s worth clicking this promptly once a share is genuinely finished, rather than leaving a share running unnecessarily while moving on to unrelated work still visible on screen.
A worked example: presenting slides while checking a chat window
Say someone is presenting a set of slides to a client and wants to periodically glance at the meeting chat to catch any typed questions, without accidentally exposing chat notifications, an unrelated open email tab, or a messaging app to everyone watching.
Rather than sharing the entire desktop, which would put every one of those things at risk of popping into view unexpectedly, they instead select “Share a specific window” and choose only the presentation software’s window. With this approach, they can switch to the Zoom app itself to check the chat panel without that switch being visible to participants at all — only the shared window’s contents are ever actually broadcast, regardless of what else is happening on their own screen in the background.
A useful additional step here is using dual monitors if available: the presentation window shared to the meeting on one screen, and the Zoom meeting controls, participant list, and chat panel visible on a second screen that’s never part of the share at all. This setup means glancing at chat requires no window-switching whatsoever, and there’s no risk of accidentally revealing something during that switch, since the second monitor was never shared in the first place.
For anyone without a second monitor, Zoom’s “dual monitor” meeting setting can still separate the meeting controls from the main view on a single screen, though switching between the shared presentation and the meeting controls generally still requires more careful attention to what’s actually visible at any given moment compared to a genuinely separate physical monitor.
Sharing a specific tab in a browser
For presentations built as a web page, or when specifically wanting to share just one browser tab rather than an entire application window, Zoom (like most modern video conferencing tools) supports selecting an individual browser tab as the share target rather than the whole browser window. This keeps other open tabs — including anything with sensitive information, unrelated work, or simply a cluttered set of tabs that would look unprofessional — completely hidden, showing participants only the one tab that’s actually relevant to the meeting.
This tab-specific sharing option is particularly useful when presenting from Google Slides, a web-based dashboard, or any other browser-based tool, since it avoids the awkwardness of switching between browser tabs in full view of the audience, or accidentally revealing a browser’s full tab bar and bookmarks toolbar during a general window share.
Worth noting: tab sharing in a browser also includes that tab’s audio automatically in most cases, which can actually simplify things compared to a full application share, where the separate “Share Sound” checkbox described above still needs to be selected manually for audio to come through.
It’s worth doing a brief test of the specific sharing option before a genuinely important meeting begins, rather than discovering during the actual presentation that the wrong tab, window, or audio setting was selected — a 30-second check with a colleague or even a solo test meeting catches this kind of mistake before it becomes visible to an actual audience. This is especially worth doing the very first time presenting from a new or unfamiliar laptop, where display and audio settings may behave differently than expected, particularly when connecting through an external monitor or docking station that changes how the operating system identifies and orders available displays. A quick test avoids all of this uncertainty.
Screen share not working right?
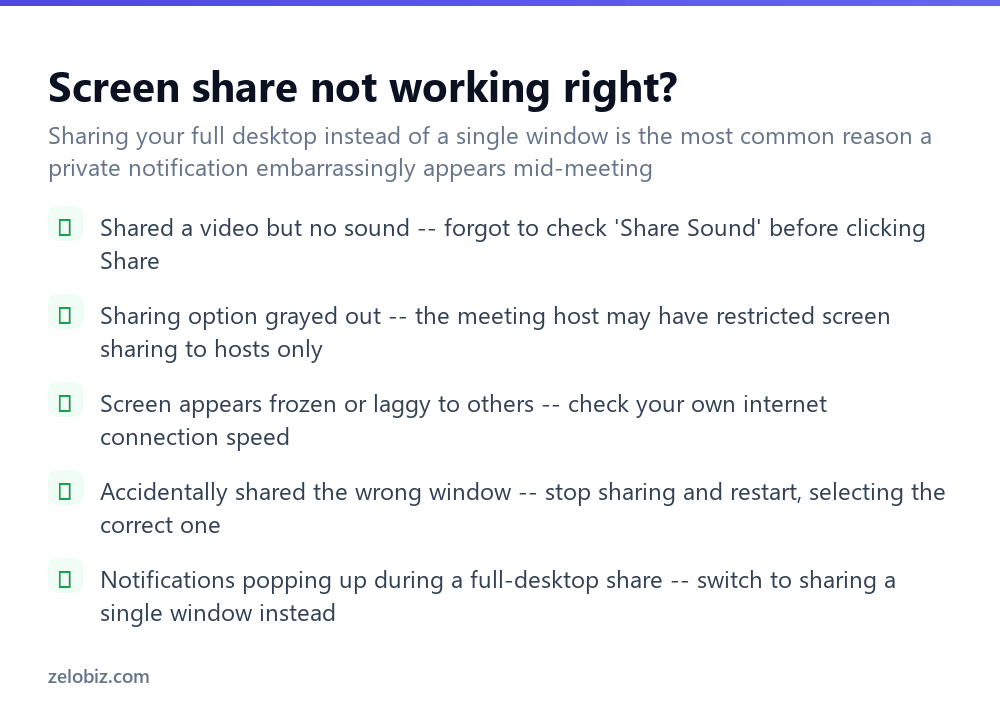
Shared a video but no sound — forgot to check “Share Sound” before clicking Share; stop the share, restart it, and check the box this time.
Sharing option grayed out — the meeting host may have restricted screen sharing to hosts only; ask the host to either share it for you or adjust the meeting’s sharing permissions.
Screen appears frozen or laggy to others — check your own internet connection speed, since screen sharing requires meaningfully more bandwidth than video or audio alone.
Accidentally shared the wrong window — click “Stop Share” and restart, carefully selecting the correct window this time from the share options.
Notifications popping up during a full-desktop share — switch to sharing a single window instead of the entire desktop going forward, which keeps notifications and other apps hidden entirely, and disable desktop notifications system-wide before an especially important call as extra insurance.
- ✓Share a specific window rather than your full desktop when possible
- ✓Check ‘Share Sound’ before sharing anything with audio
- ✓Click ‘Stop Share’ promptly once you’re actually finished sharing
- ✓Confirm the green border matches exactly what you intend others to see
- ✓Ask the host to adjust sharing permissions if the option appears grayed out
- ✕Sharing your entire desktop when only one specific app actually needs to be visible
- ✕Forgetting to check ‘Share Sound’ before sharing a video with audio
- ✕Leaving a screen share running after you’ve actually finished with it
- ✕Assuming a grayed-out share button means something is broken rather than restricted
- ✕Switching to unrelated windows during a full-desktop share without expecting it to be visible
Frequently asked questions
How do I share my screen on Zoom?
Click ‘Share Screen’ in the meeting toolbar, select what to share, check ‘Share Sound’ if needed, and click ‘Share’ to begin.
Why is there no sound when I share a video on Zoom?
You likely didn’t check the ‘Share Sound’ checkbox in the bottom-left of the share selection window before clicking Share.
Should I share my whole desktop or just one window?
A specific window is generally safer — it keeps notifications and other open apps hidden, avoiding an accidental, embarrassing popup during your share.
Why is the ‘Share Screen’ button grayed out for me?
The meeting host may have restricted screen sharing to hosts only. Ask them to share it for you or adjust the meeting’s permissions.
How do I stop sharing my screen on Zoom?
Click the red ‘Stop Share’ button that appears at the top of the screen or within the meeting controls while actively sharing.
Can I share my screen from a phone in Zoom?
Yes, using ‘Share Content’ in the mobile app’s in-meeting controls, though options are somewhat more limited than on desktop.
- →Record the meeting while sharing: how to record a Zoom meeting
- →Clean up your camera view too: how to blur background on Zoom
- →Build the slides you’re about to share: how to make a PowerPoint presentation
- →Compare with Microsoft Teams meetings: how to use Microsoft Teams