
To make labels in Word, go to the Mailings tab, click Labels, then click Options and select your exact label sheet’s brand and product number (like Avery 5160, printed on the label sheet’s packaging) — this matches Word’s template precisely to your physical labels. Type your text, choose “Full page of the same label” for one repeated design, then New Document to create an editable, correctly-laid-out page ready to print.
What you need before starting
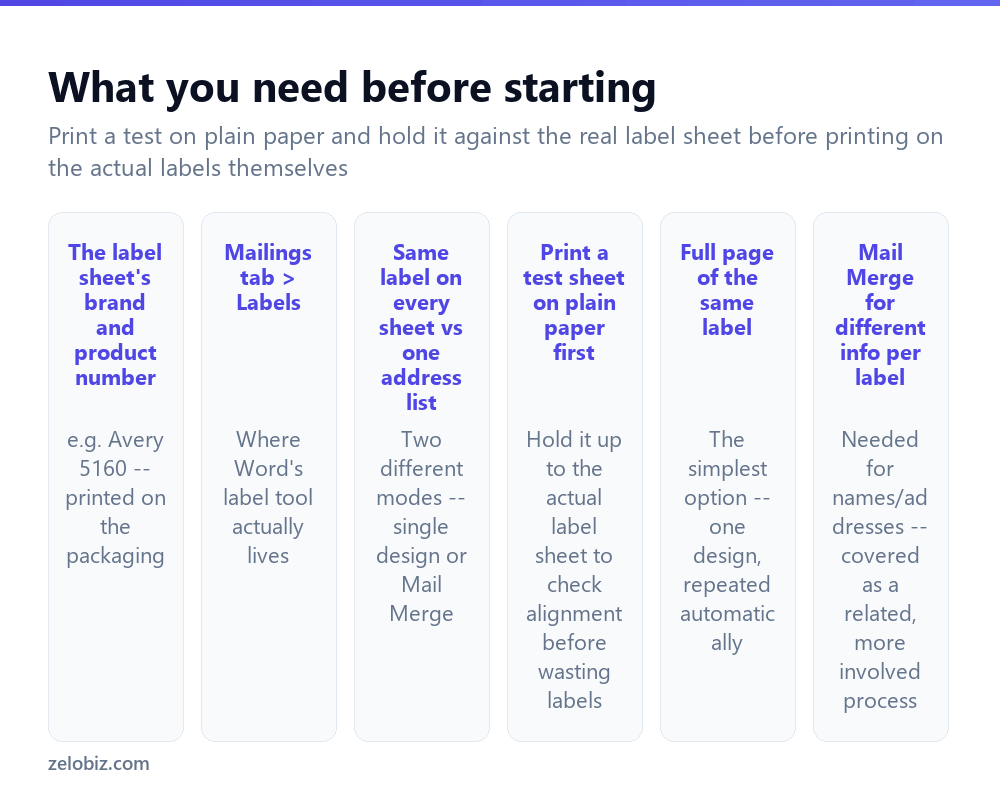
The label sheet’s brand and exact product number — printed directly on the packaging (Avery 5160, Avery 8160, and similar are common examples). This is the single most important piece of information, since it’s what lets Word position text precisely to match the physical labels’ actual size and spacing.
Decide which mode you need — a full page of the same label (one design repeated identically across the whole sheet, for something like return address labels) is the simpler, more common case. Printing different information per label from a list — names and addresses for mailing, for instance — requires Mail Merge instead, a related but more involved process covered separately.
Print a test on plain paper first, before committing to the actual label sheet — hold the printed test page up against a real (unused) label sheet, backlit against a window or light if needed, to visually confirm the text lines up with where the actual labels sit before running a real sheet through the printer.
Label sheets are genuinely not interchangeable between product numbers even when they look visually similar — a design built for the wrong product number will print offset, sometimes just slightly, sometimes badly enough to be unusable, depending on how different the actual two label layouts are.
Making a full sheet of the same label
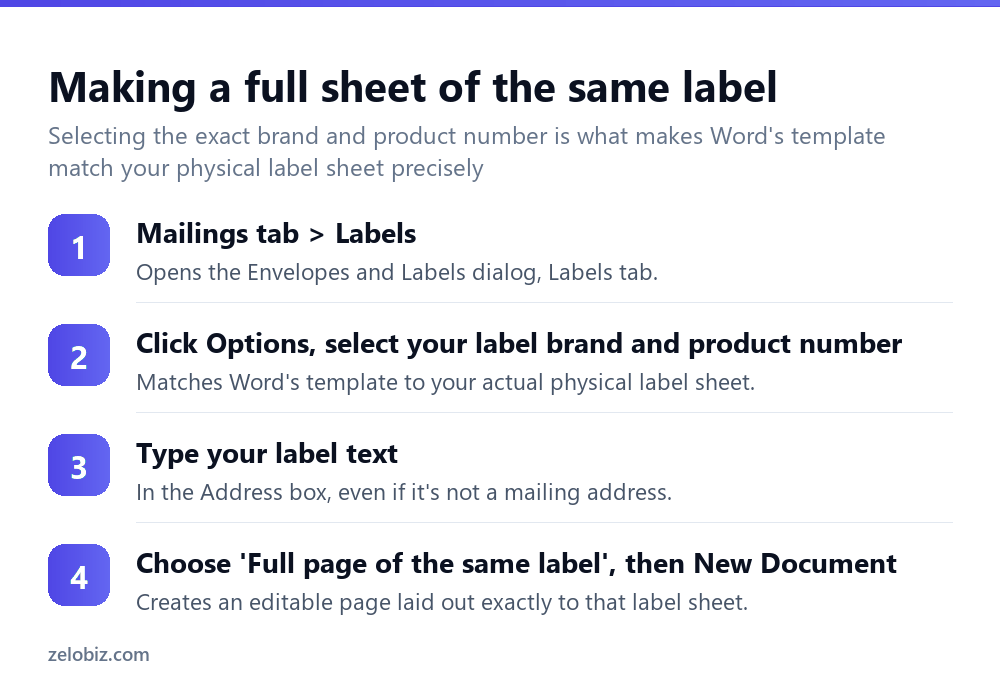
Mailings tab, then Labels — opens the Envelopes and Labels dialog on its Labels tab.
Click Options, and select your specific label brand (from a dropdown of manufacturers) and the exact product number matching your physical label sheet.
Type the text for the label into the Address box — despite the name, this works for any label content, not just mailing addresses; it’s simply the field the dialog uses for whatever text you want repeated.
Choose “Full page of the same label”, then click New Document. This generates a new, fully editable Word document laid out precisely to match the selected label sheet’s grid, with your text already filled into every position.
Formatting the label text
Once the new document is generated, the text within each label cell can be formatted like any normal Word text — font, size, bold, alignment, even adding a small logo image, since it’s a genuine editable document at this point, not a locked template. Formatting one label cell and wanting it applied to all of them requires manually copying that formatting across, since the tool doesn’t automatically propagate a later formatting change back across every repeated cell.
Different information on each label: Mail Merge
For labels that need different content per label — a mailing list where each label gets a different name and address — Mail Merge is the right tool instead of the simple repeated-label approach above. It connects an Excel spreadsheet or other data source to a label template, automatically populating each label with the corresponding row of data. This is a genuinely more involved process with its own setup steps, worth treating as a separate task from a simple same-label print run.
A worked example: printing return address labels
Say you bought a sheet of Avery 5160 address labels and want a full sheet of your own return address, ready to peel and stick onto envelopes.
Go to Mailings, Labels, Options, and select Avery US Letter as the label vendor and 5160 specifically as the product number from the dropdown list — confirming both against the actual packaging rather than assuming a similar-sounding number is correct, since Avery alone makes dozens of different label layouts with subtly different dimensions and spacing.
Type your name and address into the Address box, formatted across a few lines the way it should actually appear on an envelope. Choose “Full page of the same label,” click New Document, and check the generated page — each of the (typically 30, for 5160 specifically) cells should show your address, ready as a complete, editable document.
Before loading the real label sheet into the printer, print this generated page onto a plain sheet of paper instead, then hold that printed page directly against an unused label sheet up to a light source, checking that the text on each printed line would actually fall within the real label boundaries rather than straddling the gaps between labels. Only once that alignment checks out should the actual label sheet go through the printer.
Reusing a label design later
Since the generated label document is a genuine, ordinary Word file once created, save it normally (File, Save As) if the same label design will be needed again later — for reprinting more return address labels down the line, for instance. There’s no need to rebuild the whole label setup from scratch through the Mailings tool every single time; reopening the saved document and printing it again reproduces the identical result immediately.
Labels with an image or logo, not just text
A generated label document supports inserting an image into any individual label cell the same way images are inserted into any other part of a Word document — useful for adding a small logo alongside a business’s return address, for instance. Insert it into one cell, resize it to fit comfortably within that label’s boundaries, and then copy that formatted cell’s content and paste it into the remaining cells to replicate it across the full sheet, since inserting an image doesn’t automatically propagate to every other label cell the way the original text did when the document was first generated from the template setup, which is a manual step worth budgeting time for on a large sheet.
A quick reference
First time using a specific label sheet: always test on plain paper first, no exceptions, since even a correctly selected product number occasionally prints slightly differently across printer models. Need the same design again next month: save the generated document rather than rebuilding it from the Mailings tool each time. Adding a logo to every label: insert it once, then copy that cell’s content into the rest rather than repeating the insert step for each individual label position.
When labels aren’t printing correctly
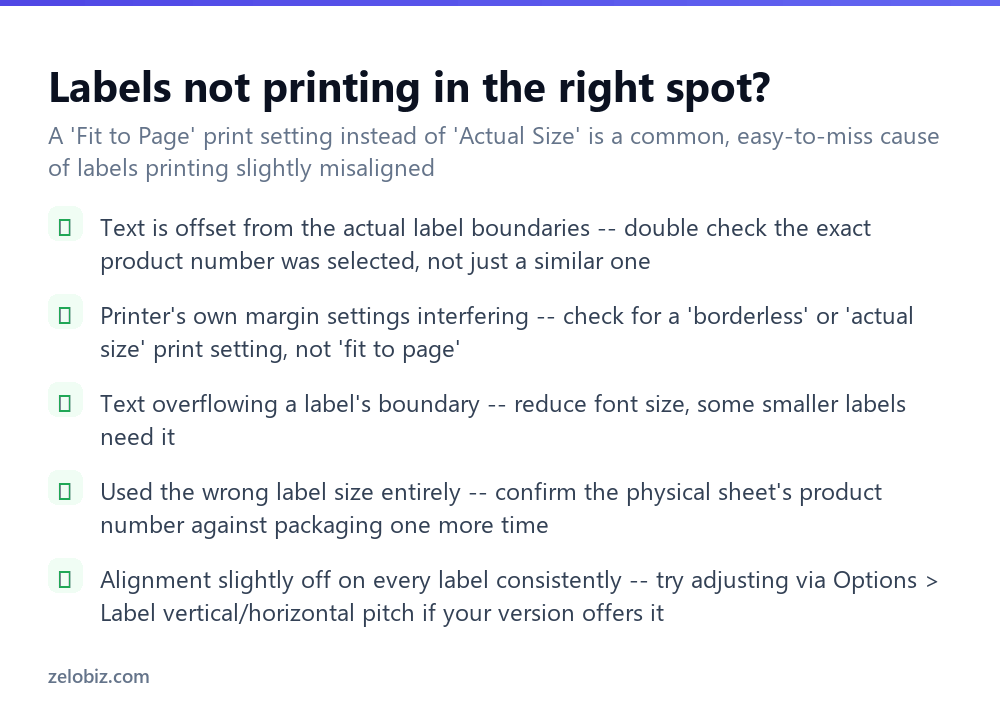
Text is offset from the actual label boundaries — double-check the exact product number was selected during setup, not just a visually similar one; even a close but incorrect match produces a consistent offset across the whole sheet.
The printer’s own settings are interfering — check for a “Fit to Page” or similar scaling option in the print dialog and switch it to “Actual Size” instead; a printer trying to automatically scale content to fit the page can throw off precise label alignment even when the Word document itself is set up correctly.
Text is overflowing a label’s boundary — reduce the font size for that specific content; smaller label sizes have proportionally less room and often need a genuinely smaller font than a first attempt assumes.
Consistent slight misalignment across every single label — some Word versions offer additional fine-tuning under Options for vertical and horizontal pitch adjustment, worth checking if a small, consistent offset persists even after confirming the product number and print scaling are both correct.
- ✓Confirm the exact label brand and product number before starting
- ✓Print a test on plain paper first and hold it against a real label sheet
- ✓Use Mail Merge, not the simple same-label tool, for a list with different info per label
- ✓Set the printer to Actual Size, not Fit to Page, when printing labels
- ✓Reduce font size deliberately for smaller label formats that need it
- ✕Assuming a visually similar product number will align correctly without checking exactly
- ✕Printing directly onto real labels without a plain-paper test first
- ✕Trying to use the simple full-page-of-one-label tool for a mailing list with varying names
- ✕Leaving a printer on Fit to Page scaling for a precisely-aligned label print job
- ✕Using a font size that overflows a label’s actual physical boundaries
Frequently asked questions
How do I make labels in Word?
Go to Mailings, Labels, click Options, select your exact label brand and product number, type your text, choose Full page of the same label, and click New Document.
How do I find my label sheet’s product number?
It’s printed directly on the label sheet’s packaging, typically alongside the brand name — Avery 5160 is a common example.
Can I print different names and addresses on each label?
Yes, using Mail Merge, which connects a spreadsheet or list to a label template so each label gets different, automatically populated content.
Why are my labels printing offset from the actual label positions?
The exact product number likely wasn’t selected correctly, or the printer’s scaling setting is set to Fit to Page instead of Actual Size.
Should I test print labels before using the real label sheet?
Yes. Print on plain paper first and hold it against a real label sheet to check alignment before printing on the actual labels.
Can I format the text differently on each label?
Yes, once the label document is generated it’s fully editable like any Word document — formatting changes just need to be applied to each cell individually.
- →Track edits before finalizing a label design: how to track changes in Word
- →Add supporting notes to a document: how to add footnotes in Word
- →Share a finished design as PDF: how to convert Word to PDF
- →Clean up formatting before printing: how to remove a page break in Word