
To make a table of contents in Word, first apply Heading styles (Heading 1, Heading 2, etc.) to your section titles — this is required, since Word builds the table of contents directly from this heading structure, not from text that’s simply bold or enlarged manually. Then click where the table of contents should appear, go to the References tab, click Table of Contents, and choose an automatic style. It builds instantly and stays clickable, jumping to each section when clicked in the finished document.
The one prerequisite that makes this work

This is the detail that trips up almost everyone the first time: Word’s automatic table of contents tool works by scanning the document for text formatted with the actual Heading 1, Heading 2, Heading 3 (and so on) built-in styles — it doesn’t look at font size, bold, or any other manual formatting to guess what counts as a heading.
A section title that’s simply been made bold and enlarged manually, without actually applying a Heading style from the Styles gallery, is completely invisible to the table of contents tool, regardless of how visually similar it looks to a properly styled heading on the page.
The fix is straightforward once understood: select each section title, and instead of manually bolding and resizing it, apply Heading 1 (for main sections) or Heading 2 (for sub-sections) directly from the Styles gallery on the Home tab. Heading styles come with their own default visual formatting, which can still be customized separately, but the style itself — not just the appearance — is what the table of contents tool actually reads.
If a table of contents comes out empty or missing sections, this is almost always the cause: those specific section titles were never given a genuine Heading style, only manual formatting that happens to look similar.
Building an automatic table of contents
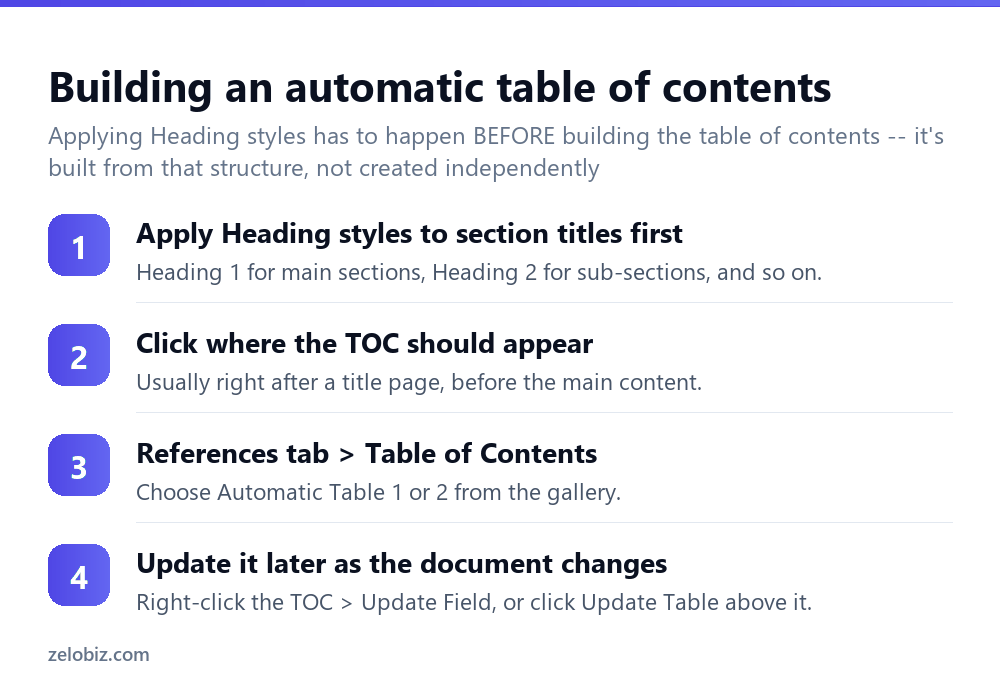
Apply Heading styles to every section title throughout the document first — Heading 1 for main sections, Heading 2 for sub-sections nested within them, and so on, before attempting to build the table of contents itself.
Click in the document where the table of contents should actually appear — typically a dedicated page right after a title page, before the main content begins.
References tab, then Table of Contents, and choose Automatic Table 1 or Automatic Table 2 from the gallery — both build directly from the document’s existing Heading structure, differing only in minor visual styling (like the literal word “Contents” as a title versus not).
The table of contents appears immediately, populated with every properly-styled heading and its current page number.
Updating the table of contents after editing
A table of contents does not update automatically as the document’s content or page numbers shift through further editing — it’s a snapshot taken at the moment it was built or last updated.
To refresh it, right-click anywhere within the table of contents and choose Update Field, or click directly on it and use the Update Table button that appears above it. Word offers a choice between “Update page numbers only” (faster, for when headings themselves haven’t changed) and “Update entire table” (needed if headings were added, removed, or retitled since the table was last built).
Customizing which heading levels appear
By default, an automatic table of contents typically includes Heading 1 through Heading 3. For a document with a deeper or shallower structure than that default assumes, References › Table of Contents › Custom Table of Contents opens a dialog letting you specify exactly how many heading levels to include, along with other display options like whether to show page numbers at all or how leader dots between the heading text and page number should look.
A worked example: adding a TOC to an already-written report
Say a 15-page report was written straight through with no particular attention to styles, and now needs a table of contents added at the end of the process, retroactively, before it’s finalized.
Go through the document from the start, and for every genuine section title — not every bold phrase, specifically the actual section and sub-section headings — select it and apply Heading 1 or Heading 2 from the Styles gallery on the Home tab, rather than leaving whatever manual bold/size formatting was originally used. This step takes real time on a document that wasn’t built with styles from the outset, but it’s the only reliable path to a working automatic table of contents, and it also pays off separately by making Word’s Navigation Pane (View, Navigation Pane) usable for jumping around the document during further editing.
Once every heading is genuinely styled, click at the very start of the document (or on a dedicated new page inserted for this purpose), and build the table of contents as described above. Check it against the document’s actual structure — does every section that should appear actually appear, in the right order, with sensible page numbers — before considering the document finished.
If further edits happen after this point (a common last step before finalizing a report), remember to Update Table one final time immediately before the document is considered done, since any late edit — even fixing a typo in a heading itself — can shift page numbers or heading text that the table of contents needs to reflect accurately.
Formatting the table of contents itself
Once built, the table of contents text can be formatted like ordinary text — font, size, spacing — though it’s worth doing this through the underlying TOC styles (TOC 1, TOC 2, and so on, visible in the Styles pane) rather than manually selecting and formatting the visible text directly, since a manual format applied directly tends to get wiped out the next time the table is updated, while a style-based change persists through updates without needing to be reapplied by hand every single time.
A quick reference
Adding a TOC to an already-written document: apply real Heading styles to every genuine section title first, not just the ones that already look visually distinct. Changing how the TOC text looks: edit the TOC styles themselves rather than manually formatting the visible text, since manual changes get wiped out on the next update.
When the table of contents isn’t working right
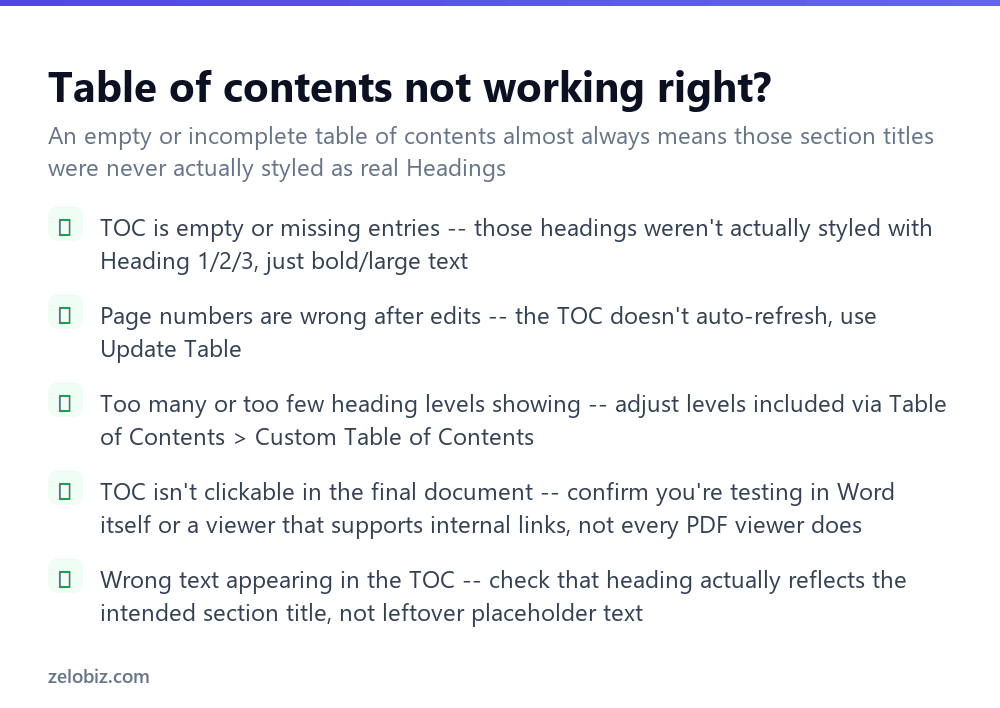
The table of contents is empty or missing entries — those specific section titles weren’t actually styled with a genuine Heading style, only bold or enlarged manually. Go back and apply real Heading styles, then update the table.
Page numbers are wrong after further edits — the table doesn’t auto-refresh; use Update Table (or Update Field) to bring it current with the document’s actual current state.
Too many or too few heading levels are showing — adjust this through Custom Table of Contents rather than the default automatic gallery options, which use a fixed default level range.
The table of contents isn’t clickable in a shared file — confirm the recipient is viewing it in Word itself, or in a PDF viewer (if exported to PDF) that genuinely supports internal document links, since not every PDF viewer renders these consistently.
- ✓Apply genuine Heading styles to section titles before building the table of contents
- ✓Use Update Table after any edit that changes headings or page numbers
- ✓Use Custom Table of Contents to adjust which heading levels are included
- ✓Test clickability in Word itself, not just visually in a PDF export
- ✓Check for missing Heading styles first if the table comes out empty
- ✕Manually bolding and resizing section titles instead of applying real Heading styles
- ✕Assuming the table of contents updates itself automatically as the document changes
- ✕Expecting the default automatic table to include heading levels beyond its default range
- ✕Skipping a check for clickability in the actual final delivery format
- ✕Rebuilding the whole table of contents manually instead of using Update Table
Frequently asked questions
How do I make an automatic table of contents in Word?
Apply Heading styles to your section titles first, then go to References, Table of Contents, and choose an automatic style — it builds directly from your heading structure.
Why is my table of contents empty?
The section titles likely weren’t styled with genuine Heading styles, only bold or enlarged manually. Apply real Heading 1/2/3 styles, then rebuild the table.
How do I update a table of contents after editing my document?
Right-click it and choose Update Field, or click it and use the Update Table button — it doesn’t refresh automatically on its own.
Can I change which heading levels appear in my table of contents?
Yes, through References, Table of Contents, Custom Table of Contents, which lets you specify exactly how many levels to include.
Why isn’t my table of contents clickable?
Confirm you’re testing it in Word itself, or in a PDF viewer that genuinely supports internal document links — not every PDF viewer renders these the same way.
Does making text bold and large count as a heading for the table of contents?
No. The table of contents tool only recognizes genuine Heading styles applied from the Styles gallery, not manual bold or font-size formatting.
- →Set up page numbers before adding a TOC: how to add page numbers in Word
- →Clean up formatting first: how to remove a page break in Word
- →Format the body text: how to double space in Word
- →Share the finished document: how to convert Word to PDF