

To zip a file on Windows, right-click the file (or select several files first), and choose Send to › Compressed (zipped) folder. On a Mac, right-click the file or selection and choose Compress. Both are built into the operating system with no extra software needed, and selecting multiple files together before right-clicking combines them into one zip file rather than creating a separate zip for each.
Built-in zipping, by platform
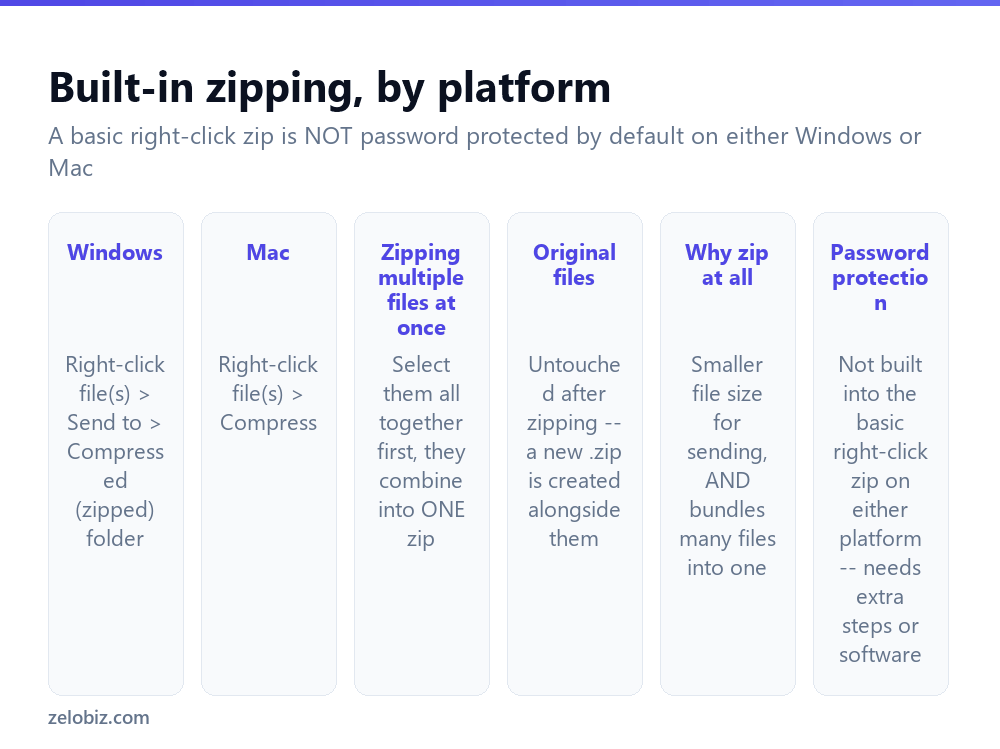
Windows — right-click the file or selected files, then Send to › Compressed (zipped) folder. This creates a new .zip file containing everything that was selected.
Mac — right-click the file or selected files and choose Compress (the exact wording is “Compress [filename]” for one item, or “Compress N items” for multiple selected together).
Zipping multiple files into one archive requires selecting them all together, before right-clicking — Ctrl-click (Windows) or Cmd-click (Mac) for individual files, Shift-click for a consecutive range. Right-clicking files one at a time produces one separate zip per file instead of a single combined archive.
The original files remain completely untouched after zipping — a new .zip file is created alongside them, and nothing about the source files themselves changes or gets deleted.
Zipping serves two genuinely different purposes worth keeping in mind: it can reduce file size for easier sending, and it can bundle many files into one for convenience, even when compression itself barely shrinks the total size. Sometimes only one of these two benefits is actually the reason you’re zipping something.
Zipping multiple files into one on Windows
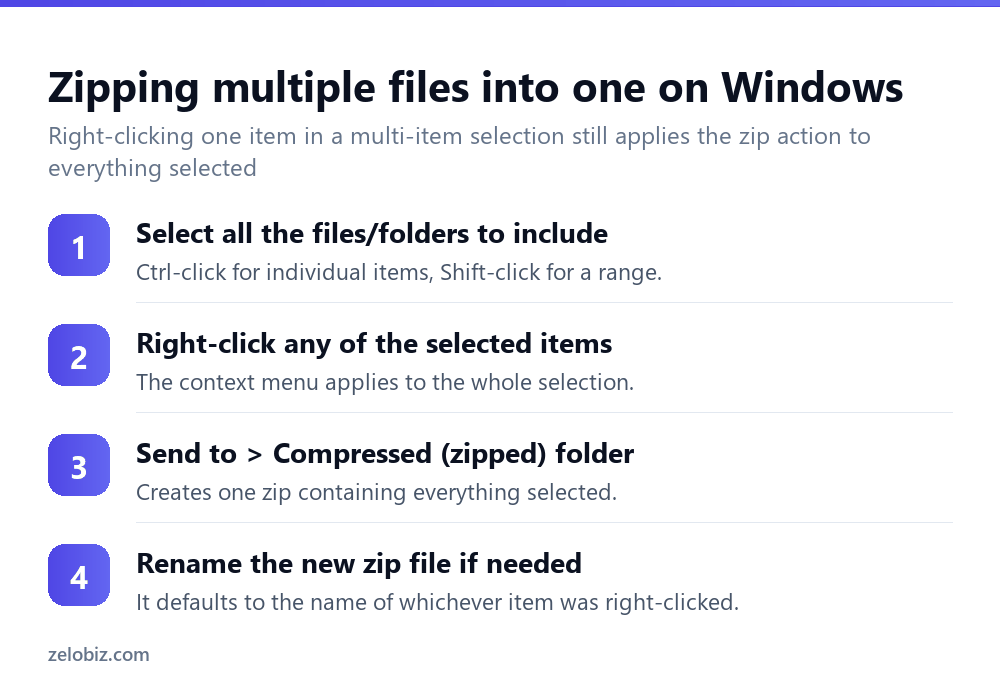
Select every file or folder to include — Ctrl-click individual items anywhere in the window, or Shift-click to select a consecutive range.
Right-click any one of the selected items — the resulting context menu action applies to the entire selection, not just the specific item that was right-clicked.
Send to › Compressed (zipped) folder. This creates a single zip file containing everything that was selected.
The new zip defaults to the name of whichever specific file was right-clicked — rename it afterward to something more descriptive of the whole collection if that default name doesn’t fit.
Zipping on a Mac
Select the file or files in Finder the same way — Cmd-click for individual items, Shift-click for a range — then right-click (or Control-click) the selection and choose Compress.
macOS creates a zip named “Archive.zip” for a multi-item selection, or matching the single file’s name for one item — rename it afterward as needed, the same as on Windows.
Why zip a file at all
Reducing file size — compression genuinely shrinks many file types meaningfully, particularly plain text, uncompressed documents, and spreadsheets. It does very little for file types that are already compressed — JPG photos, most video formats, and PDFs are typically already using internal compression, so zipping them again produces only a marginal size reduction, sometimes none at all.
Bundling many files into one — even when compression itself isn’t the point, zipping a folder full of files into one archive makes sending dozens of individual files as a single email attachment or upload dramatically simpler than sending them one at a time.
Password-protecting a zip file
The basic right-click zip method on neither platform includes password protection by default — this is a genuinely common misconception. A plain right-click-created zip opens for anyone without any password prompt at all.
For an actually password-protected zip, Windows users need third-party software like 7-Zip (which does support setting a password during compression), and Mac users similarly need a tool like Keka rather than the built-in Compress option, which has no password-setting capability of its own.
Zipping a folder: contents vs the folder itself
It’s worth understanding the difference before zipping a folder specifically: zipping the folder itself produces a zip that, when extracted, recreates that same folder containing everything inside it. Selecting and zipping just the contents of the folder (everything inside it, but not the folder itself) produces a zip that extracts directly to those files with no enclosing folder layer. Which one is actually wanted depends on how the recipient will use it — worth deciding deliberately rather than by accident.
A worked example: sending a project folder by email
Say a folder full of a dozen documents, a few spreadsheets, and some screenshots needs to go to a colleague by email, and attaching each file individually would mean a dozen separate attachments cluttering the message.
Select the whole folder in File Explorer or Finder, right-click, and zip it as described above — this bundles everything into one file, which is far more convenient to attach and for the recipient to download than a dozen individual files, even though the documents and spreadsheets inside will compress somewhat while the screenshots (already PNG or JPG, already compressed) won’t shrink much further.
Before sending, check the resulting zip’s total size against your email provider’s attachment limit — if the folder contains large screenshots or several sizeable documents, the combined zip can end up larger than expected even though each individual file seemed small on its own. If it’s over the limit, consider whether the whole folder genuinely needs to go in one email, or whether splitting it into two smaller zips, or using a cloud storage link instead, would be more practical for that specific recipient.
Once the recipient confirms they’ve successfully received and extracted it, the original zip can be deleted from your own system if it was only created for this one send — keeping the original folder intact and unzipped as the actual working copy.
Zipping to save space in long-term storage
Beyond sending files, zipping is also genuinely useful for reducing the footprint of files being archived long-term rather than actively worked on — old project folders, completed work, or records kept mainly for reference rather than daily use. For file types that do compress well (documents, spreadsheets, and similar text-heavy formats), zipping archived folders can meaningfully reduce the total storage space they occupy over time, which adds up across many archived projects even when each individual saving seems modest on its own.
Whichever reason you’re zipping something for, the underlying mechanics stay the same on both platforms — select, right-click, Compress or Send to Compressed folder — so the only real decision each time is what to select and whether combining it into one file is actually the goal, or several separate zips would serve just as well for that particular situation.
A quick reference
Sending a folder to someone by email: zip the whole folder first rather than attaching individual files one at a time, which is far more convenient for both sides of the exchange. Archiving old project files long-term: zip folders that compress well (documents, spreadsheets) to save meaningful space over time, and don’t expect much benefit from zipping folders full of photos or video, which are already compressed.
When something isn’t working as expected
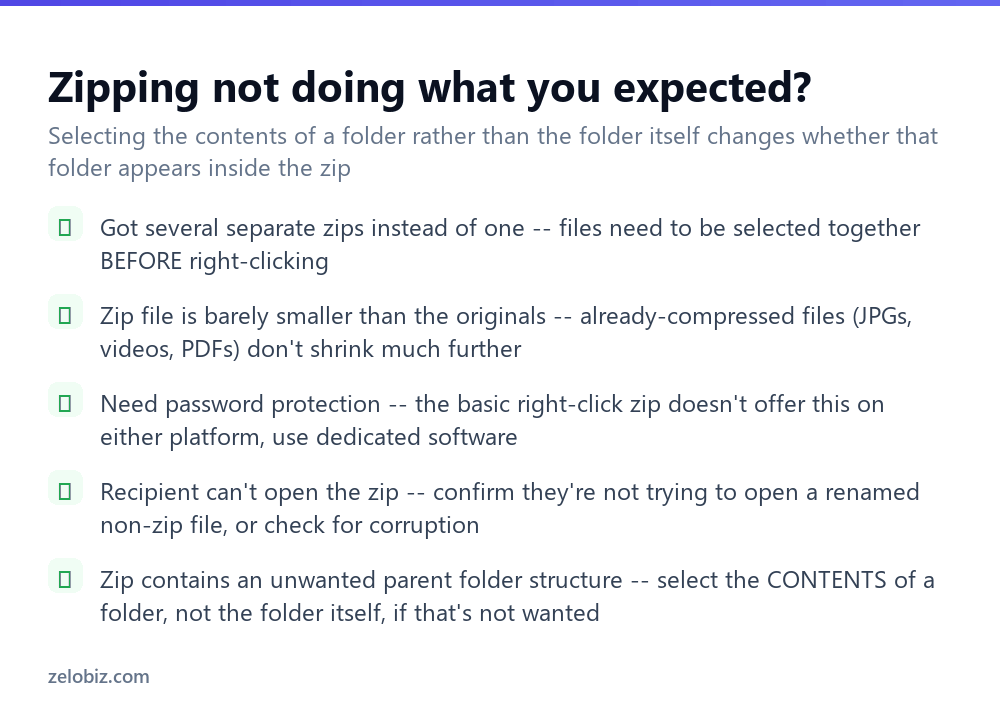
Got several separate zips instead of one — the files weren’t selected together before right-clicking. Redo it, selecting every file at once first.
The zip is barely smaller than the original files — this is normal, not a malfunction, if the source files were already-compressed types like JPGs, videos, or PDFs, which don’t shrink much further under zip compression.
Need actual password protection — the basic right-click zip doesn’t offer this on either platform; dedicated software like 7-Zip or Keka is needed.
A recipient says they can’t open the zip — confirm they aren’t trying to open a file that only looks like a zip but is actually a different format, or check whether the file may have become corrupted during transfer, such as an interrupted download or upload.
- ✓Select multiple files together before right-clicking if you want one combined zip
- ✓Expect minimal size reduction when zipping already-compressed file types
- ✓Use dedicated software like 7-Zip or Keka if actual password protection is needed
- ✓Decide deliberately whether to zip a folder itself or just its contents
- ✓Rename a newly created zip to something more descriptive than the default
- ✕Right-clicking files one at a time when a single combined zip was the goal
- ✕Assuming a basic right-click zip is password protected by default — it isn’t
- ✕Expecting a zip of JPGs or videos to shrink significantly through compression
- ✕Zipping a folder itself when only its contents, unwrapped, were actually wanted
- ✕Assuming a failed zip open means the recipient did something wrong rather than checking for corruption
Frequently asked questions
How do I zip a file on Windows?
Right-click the file (or a selection of files), then choose Send to, Compressed (zipped) folder — built in, no extra software needed.
How do I zip a file on a Mac?
Right-click the file or selected files and choose Compress — also built in with no extra software required.
How do I zip multiple files into a single archive?
Select all the files together first, before right-clicking, rather than zipping them one at a time, which produces separate zips instead of one combined file.
Does zipping a file make it much smaller?
It depends on the file type. Plain text and documents compress well. Already-compressed formats like JPGs, videos, and PDFs shrink very little, sometimes not at all.
Is a zip file created by right-click password protected?
No, not by default on either Windows or Mac. Actual password protection requires dedicated software like 7-Zip or Keka.
What’s the difference between zipping a folder and zipping its contents?
Zipping the folder itself recreates that folder when extracted. Zipping just the contents extracts directly to the files with no enclosing folder.
- →Extract a zip you received: how to unzip a file
- →Recover a file if a zip goes wrong: how to recover deleted files
- →Shrink images before zipping them: how to resize an image
- →Bundle scanned documents together: how to scan a document