
To make a Google Form, go to forms.google.com and start a blank form, or in Google Drive click New > Google Forms. Add a title and description, then use the + button to add questions, choosing a question type for each (multiple choice, short answer, checkboxes, and more), and toggle “Required” for any question that must be answered. Click “Send” to share it via link, email, or embed code. Responses land automatically in a live spreadsheet if linked, with no manual export needed.
Building a form, start to finish
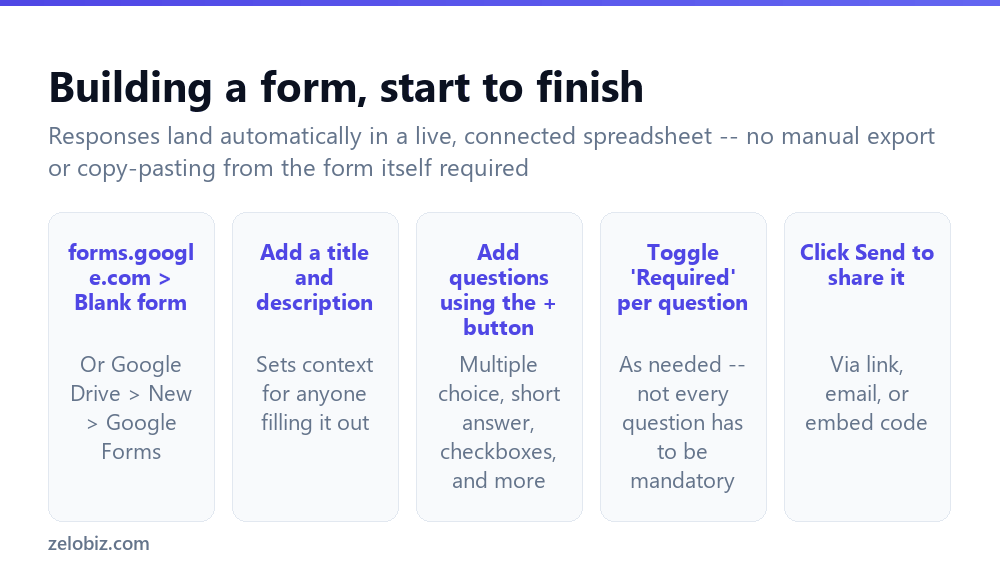
forms.google.com > Blank form — or alternatively, from Google Drive, click New > Google Forms to start a fresh form directly.
Add a title and description — sets clear context for anyone filling it out, explaining what the form is for before they reach the actual questions.
Add questions using the + button — located in the floating toolbar, offering question types including multiple choice, short answer, paragraph, checkboxes, dropdown, and several others.
Toggle “Required” per question — found in the bottom-right of each individual question, as needed; not every question necessarily needs to be mandatory.
Click Send to share it — via a direct link, an email invite sent straight from the Send dialog, or an embed code for placing the form directly within a website.
Responses land automatically in a live, connected spreadsheet once linked — there’s no manual export or copy-pasting required to move response data out of the form and into a format that’s easy to analyze, filter, or share further.
Making a Google Form
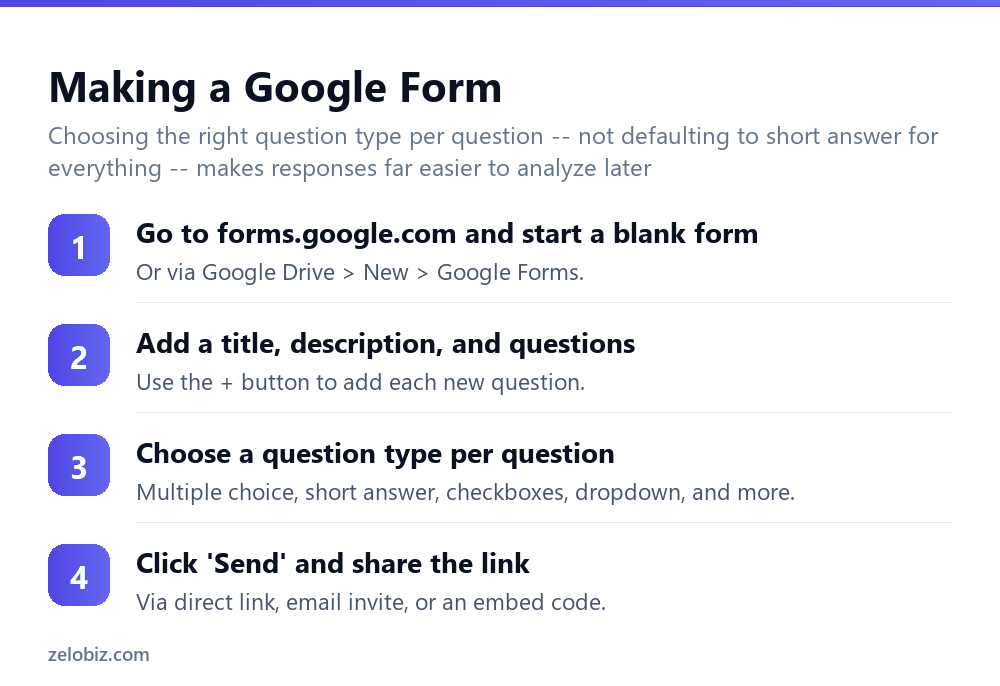
Go to forms.google.com and start a blank form — or use Google Drive > New > Google Forms as an alternative starting point.
Add a title, description, and questions — using the + button to add each new question one at a time.
Choose a question type per question — multiple choice, short answer, checkboxes, dropdown, and several other types are available, each suited to different kinds of information being collected.
Click “Send” and share the link — via a direct link, an email invite, or an embed code, depending on how the form is actually meant to reach respondents.
Choosing the right question type
Defaulting every question to “Short answer” is a common mistake that makes responses considerably harder to analyze afterward — a question with a fixed, known set of possible answers (like a satisfaction rating, or choosing from a specific list of options) genuinely belongs as Multiple choice, Checkboxes (for select-multiple), or a Dropdown, since these produce clean, consistent data that’s straightforward to count and filter, rather than free-text responses that need manual review and categorization afterward.
Reserve Short answer and Paragraph question types specifically for genuinely open-ended information — a name, a comment, or feedback that can’t reasonably be reduced to a fixed set of choices.
Connecting responses to Google Sheets
Within the Responses tab of any form, clicking the green Sheets icon creates a linked spreadsheet that automatically updates with every new response as it comes in — no manual export, refresh, or copy-pasting needed. This linked spreadsheet is genuinely live, meaning it reflects new responses the moment they’re submitted, making it straightforward to build charts, filters, or further analysis directly on top of the response data as it accumulates.
A worked example: building an event RSVP form
Say someone is organizing a company event and needs to collect RSVPs, dietary restrictions, and a headcount, and wants the responses organized in a way that’s easy to act on afterward rather than a pile of free-text answers to sort through manually.
They start with a title (“Team Event RSVP”) and a short description stating the event date and RSVP deadline, so anyone opening the form immediately has context before reaching the questions themselves. For the actual RSVP question, they use Multiple choice with exactly three options — “Yes, attending,” “No, not attending,” “Maybe” — rather than a free-text field, since this produces a clean count they can total instantly rather than needing to interpret varied phrasing like “probably” or “I’ll try to make it” from a paragraph-style answer.
For dietary restrictions, they use Checkboxes listing common options (vegetarian, vegan, gluten-free, nut allergy) plus an “Other” option that reveals a short-answer field when selected, using PowerPoint-Forms’ built-in section-branching feature so people without restrictions aren’t shown an unnecessary empty text box. They mark the RSVP question itself as Required, since a response without knowing yes/no defeats the form’s whole purpose, but leave dietary restrictions optional, since not everyone attending will have any to report.
Once responses start coming in, they open the linked Google Sheet directly rather than reading through the Forms Responses tab one at a time, since the spreadsheet view makes it trivial to filter for just “Yes” responses and get an accurate headcount for catering with a single filter applied, rather than manually counting through individual form submissions.
Adding sections and conditional logic
For longer or more complex forms, Add section (found in the floating toolbar alongside the + button) breaks a form into multiple pages, which keeps any single page from feeling overwhelming to a respondent scrolling through a long list of questions all at once.
Combined with “Go to section based on answer” (available when editing a multiple choice or dropdown question), sections also enable genuinely conditional forms — a question like “Have you used our product before?” can route “Yes” respondents to a different follow-up section than “No” respondents, showing each group only the questions actually relevant to them rather than a single generic path everyone has to click through regardless of relevance.
Customizing the form’s look
The paint palette icon in the top-right of the form editor opens theme customization options — header image, color scheme, and font style — letting a form match an organization’s branding or simply feel more polished than the plain default appearance. While this doesn’t affect how the form actually functions, a form matching the sender’s usual branding tends to feel more trustworthy and legitimate to recipients than an unbranded, generic-looking one, particularly for anything being sent externally rather than just within an internal team.
A quick check worth doing before sending any customized form widely: preview it on a phone screen specifically, since a header image or color choice that looks fine on a wide desktop browser window can sometimes crowd out the actual questions on a smaller mobile screen, where a meaningful share of respondents are likely to actually open the form from in the first place. The Preview eye icon at the top of the editor opens exactly this view, making the check quick to run before sending anything out to a wider audience of respondents who haven’t seen the form before and won’t know what it should have looked like beforehand at all, either way, when opening it for the first time.
Form not working as expected?
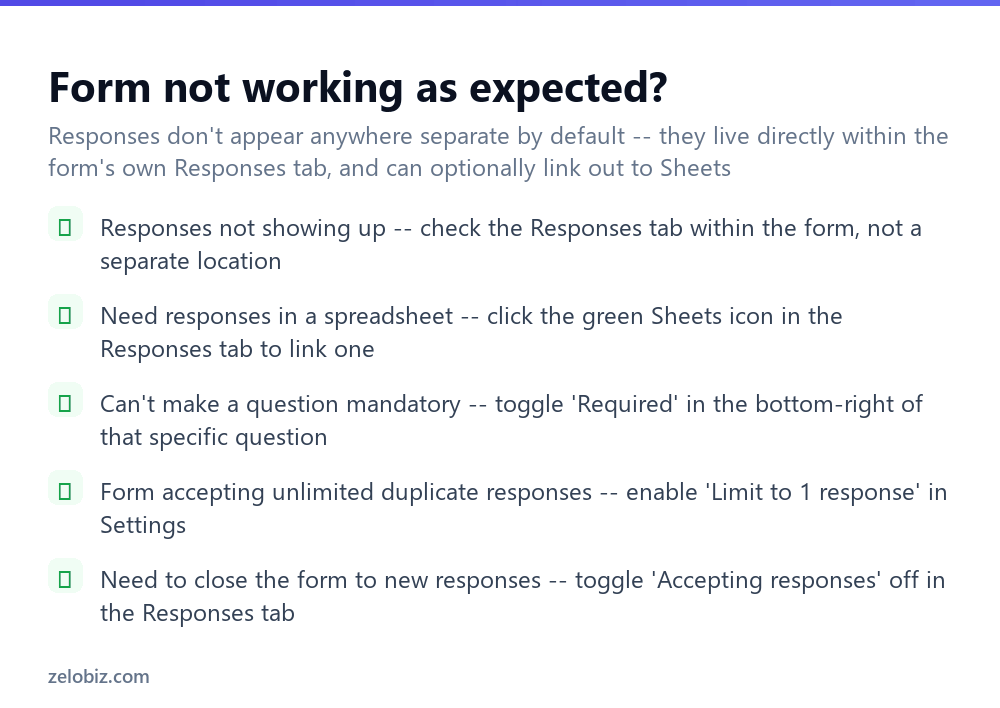
Responses not showing up — check the Responses tab within the form itself, not a separate location; this is where all submitted responses collect by default.
Need responses in a spreadsheet — click the green Sheets icon in the Responses tab to create and link one automatically.
Can’t make a question mandatory — toggle “Required” in the bottom-right corner of that specific question, not a form-wide setting.
Form accepting unlimited duplicate responses — enable “Limit to 1 response” in Settings if each respondent should only be able to submit once (this requires respondents to sign in with a Google account).
Need to close the form to new responses — toggle “Accepting responses” off within the Responses tab, which immediately stops accepting further submissions while keeping existing ones intact.
- ✓Choose the right question type for each question, not just Short answer by default
- ✓Link responses to a Google Sheet for automatic, live tracking
- ✓Toggle ‘Required’ individually on questions that genuinely need an answer
- ✓Add a clear title and description so respondents understand the form’s purpose
- ✓Toggle ‘Accepting responses’ off once the form should genuinely stop collecting more
- ✕Defaulting every question to Short answer, making responses hard to analyze later
- ✕Manually copying response data instead of linking a live Google Sheet
- ✕Marking every single question as Required without genuine need
- ✕Publishing a form with no title or context explaining what it’s for
- ✕Leaving a form open to unlimited duplicate responses when only one per person is intended
Frequently asked questions
How do I make a Google Form?
Go to forms.google.com and start a blank form, add a title, description, and questions using the + button, then click Send to share it.
Where do Google Form responses go?
They collect automatically in the form’s own Responses tab, and can be linked to a live-updating Google Sheet from there.
How do I link a Google Form to a spreadsheet?
In the Responses tab, click the green Sheets icon to create and link a spreadsheet that updates automatically with new responses.
How do I make a question required in a Google Form?
Toggle ‘Required’ in the bottom-right corner of that specific question — it’s set individually per question, not form-wide.
Can I limit a Google Form to one response per person?
Yes, enable ‘Limit to 1 response’ in Settings, which requires respondents to sign in with a Google account.
How do I stop a Google Form from accepting new responses?
Toggle ‘Accepting responses’ off within the Responses tab, which stops new submissions while keeping existing responses intact.
- →Analyze the responses further in Sheets: how to use Google Sheets
- →Store and organize related files: how to use Google Drive
- →Chart the collected response data: how to make a chart in Google Sheets
- →Share a finished report as PDF: how to convert Google Doc to PDF