
To add a border in Word, the right menu depends on what you’re bordering. For a page border framing the whole page, use Design tab › Page Borders. For a paragraph or selected text border, use Home tab › Borders dropdown (in the Paragraph group). For a table border, click into the table first so the Table Design tab appears, then use its Borders options. These are three genuinely separate tools, not one unified border menu.
Three border types, three different menus
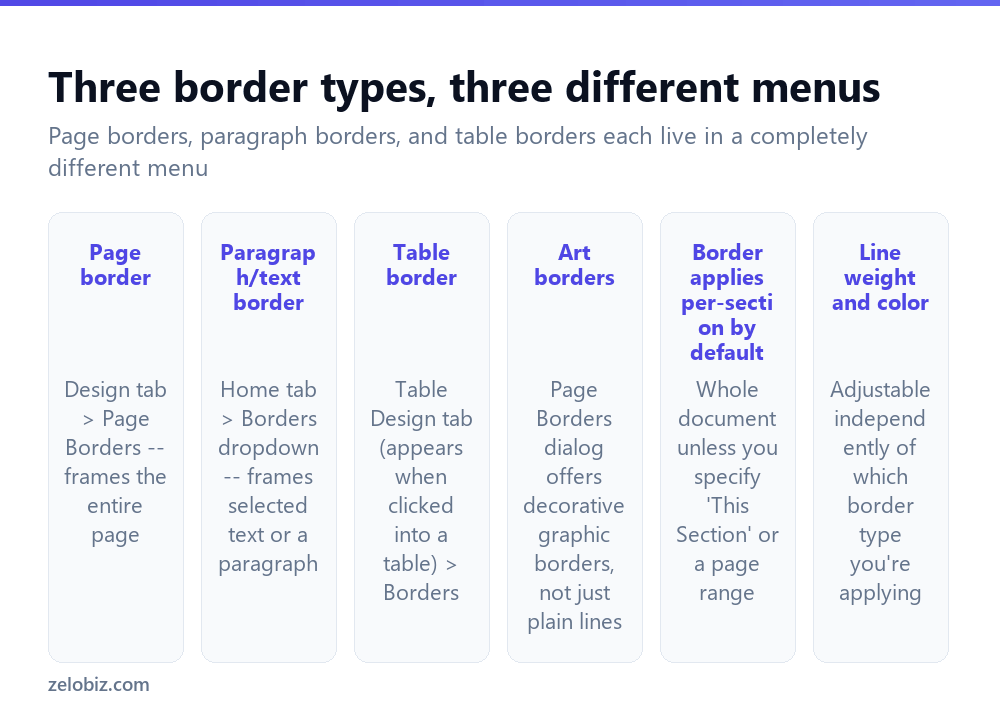
Page border — frames the entire page’s edge, found under Design › Page Borders. This includes access to decorative Art borders (graphic patterns rather than plain lines), commonly used for certificates, invitations, or flyers.
Paragraph or text border — frames a selected block of text or the current paragraph, found under Home › Borders dropdown in the Paragraph group, the same dropdown that also offers simpler options like a bottom border line alone.
Table border — controls the lines around and between table cells, found under the Table Design tab, which only appears in the ribbon once the cursor is actually positioned inside a table.
These three tools don’t share settings or overlap — adding a page border has no effect on a table’s borders elsewhere in the same document, and vice versa. Confirm you’re in the right menu for what’s actually being bordered before adjusting settings.
Adding a page border
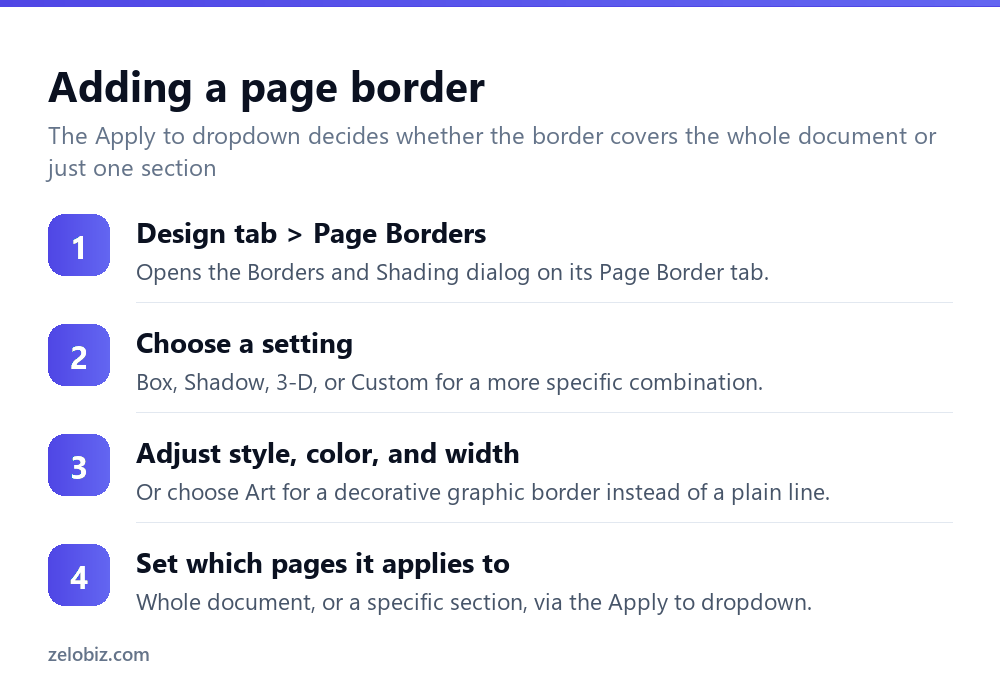
Design tab, then Page Borders — opens the Borders and Shading dialog directly on its Page Border tab.
Choose a setting: Box (simple frame), Shadow (frame with a drop-shadow effect), 3-D, or Custom for combining specific individual sides differently.
Adjust style, color, and width for a plain line border, or switch to the Art dropdown for a decorative graphic border pattern instead of a simple line.
Use the Apply to dropdown to decide scope — “Whole document” applies it everywhere, while “This section” or a specific page range option (available if the document has section breaks) restricts it to just part of the document.
Adding a paragraph or text border
Select the specific text or click into the paragraph that needs a border, then Home › Borders dropdown (next to the highlighting and font color icons in the Paragraph group).
Choose from the quick preset options (Bottom Border, All Borders, Outside Borders, and similar), or click Borders and Shading at the bottom of that dropdown for the full dialog with the same style, color, and width controls available for page borders.
Adding a table border
Click anywhere inside the table — this reveals the Table Design and Layout tabs specific to table editing. Under Table Design, the Borders group offers line style, weight, and color controls, plus a Border Painter tool that lets you click individual cell edges directly to apply or remove borders selectively, rather than only being able to set borders for the whole table uniformly at once.
Individual cells can also carry their own specific border settings that override the table’s general border style — worth checking if a table’s borders look inconsistent despite a uniform setting having been applied to the table as a whole.
A worked example: designing a certificate
Say a certificate of completion needs a decorative border framing the whole page, plus a simple horizontal line beneath the recipient’s name for visual separation.
For the page border, go to Design, Page Borders, and switch to the Art dropdown rather than a plain Style line — this reveals a gallery of decorative graphic patterns (stars, ribbons, ornamental designs) genuinely suited to a certificate’s formal, celebratory tone in a way a plain rectangular line border wouldn’t achieve on its own. Adjust the width slider to control how thick and prominent the decorative pattern appears, and confirm Apply to is set to “Whole document” since a certificate is typically a single page anyway.
For the line under the recipient’s name, that’s a genuinely different tool — select just that line of text, then Home, Borders dropdown, and choose Bottom Border specifically, which draws a single line beneath the selected text without affecting anything else on the page. This is a paragraph border, not a page border, and using the wrong tool here (trying to achieve it through Page Borders) wouldn’t work at all, since Page Borders only affects the page’s outer edge.
Preview the finished certificate at actual print size before finalizing — some Art borders render quite differently at different zoom levels on screen than they actually print, and a pattern that looks appropriately subtle zoomed out can print unexpectedly bold, or vice versa, depending on the specific pattern chosen and the printer’s actual output.
Borders and printer edge limitations
Most printers cannot print genuinely all the way to a page’s physical edge — there’s typically a small unprintable margin around the border of any standard printer’s output, often somewhere around a quarter inch depending on the specific printer model. A page border set very close to the page edge in Word can end up partially clipped or missing on one or more sides once actually printed, even though it displays completely and correctly on screen. Checking a specific printer’s documented printable area, and keeping any border comfortably within that margin rather than pushing right to the document’s own edge setting, avoids this specific disappointment discovered only after printing.
Removing a border once applied
To remove any border — page, paragraph, or table — return to the same menu used to apply it and choose None as the setting (in Page Borders’ Setting options, or None in the Home tab’s Borders dropdown, or None under Table Design’s border options), rather than trying to select and delete a border the way you’d delete text; borders are a formatting property applied to a page, paragraph, or table, not a separate object that can be selected and deleted directly the way an inserted image or shape could be.
When a border isn’t showing where expected
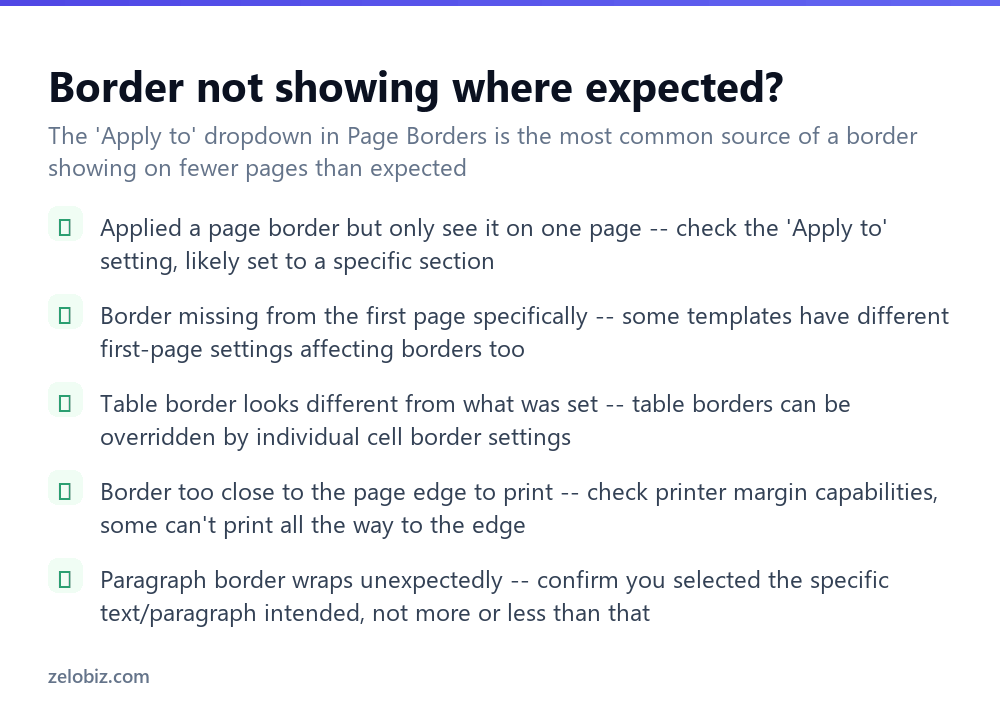
A page border only shows on one page — check the Apply to dropdown in the Page Borders dialog; it may be set to “This section” rather than “Whole document,” restricting the border’s visible range unintentionally.
The border is missing specifically from the first page — some document templates carry different first-page header/footer or border settings inherited from a template’s own design; check the Apply to options for a first-page-specific setting.
A table’s border looks different from what was set — individual cells can carry their own border settings that override the table-wide style; use Border Painter to check and correct specific cells directly rather than reapplying the whole table’s border setting repeatedly.
A border sits too close to the page edge to print correctly — check the specific printer’s actual edge-printing capability, since many printers genuinely cannot print all the way to a page’s physical edge, which can clip a border set too close to it.
Once the right menu and setting are found for a given border type, the actual process of applying, adjusting, or removing it is quick — most of the real effort here is simply knowing which of the three separate tools to reach for in the first place.
- ✓Use the correct menu for the specific border type — page, paragraph, or table
- ✓Check the Apply to setting if a page border doesn’t cover the expected pages
- ✓Use Border Painter to fix individual table cells overriding the overall table style
- ✓Confirm your printer’s actual edge-printing capability before finalizing a tight border
- ✓Select the exact text or paragraph intended before applying a text border
- ✕Assuming one border tool controls page, paragraph, and table borders together
- ✕Leaving Apply to on a restrictive section setting when the whole document needed a border
- ✕Assuming a uniform table border setting overrides every individual cell’s own setting
- ✕Setting a border right at the page edge without checking the printer can actually print there
- ✕Applying a border to more or less text than actually intended by not checking the selection first
Frequently asked questions
How do I add a border around a whole page in Word?
Go to Design, Page Borders, choose a setting like Box, adjust style and color, and confirm Apply to is set to Whole document.
How do I add a border around just a paragraph or selected text?
Select the text, then use Home, Borders dropdown, and choose a preset or open Borders and Shading for full control.
How do I add or change borders on a table?
Click inside the table to reveal the Table Design tab, then use its Borders group, including Border Painter for adjusting individual cell edges.
Why does my page border only appear on some pages?
The Apply to setting in Page Borders is likely restricted to a specific section rather than the whole document.
Why does my table border look inconsistent even though I set it uniformly?
Individual cells can carry their own border settings that override the table-wide style — use Border Painter to check and fix specific cells.
Can I use decorative borders instead of plain lines in Word?
Yes, through the Art dropdown in the Page Borders dialog, which offers graphic border patterns instead of simple lines.
- →Add a header alongside a page border: how to add a header in Word
- →Insert form elements into a bordered document: how to insert a checkbox in Word
- →Print labels with a matching design: how to make labels in Word
- →Share the finished, bordered document: how to convert Word to PDF