
To insert a checkbox in Word, there are two genuinely different options depending on how it’ll be used. For a printable checkbox someone will check by hand with a pen, insert a checkbox symbol via Insert › Symbol (Wingdings font includes one) or as a bullet character in a list. For a clickable checkbox someone checks on screen, first enable the Developer tab (File › Options › Customize Ribbon), then use Check Box Content Control from that tab.
Printable symbol vs clickable form field — know which you need
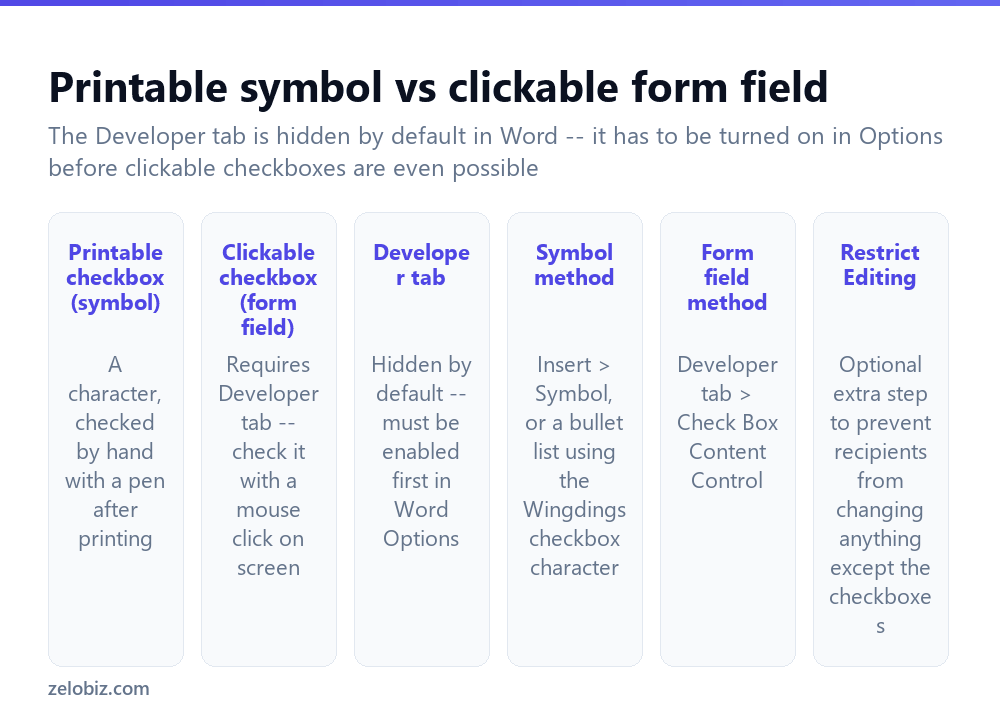
Printable checkbox (symbol) — a plain character, visually a square, inserted the same way any text character is inserted. It has no interactive behavior at all within Word itself; someone checks it by hand with a pen after printing the document, exactly like a checkbox on a paper form.
Clickable checkbox (form field) — a genuine interactive element that toggles between checked and unchecked when clicked directly within Word (or a compatible viewer), intended for a document that will be filled out digitally rather than printed and marked by hand.
The Developer tab, required for the clickable version, is hidden by default in Word — it needs to be enabled once through Options before Check Box Content Control (or any other form field) becomes available in the ribbon at all.
Choosing the wrong type is the most common source of confusion here — a symbol checkbox looks identical to a form-field checkbox at a glance, but clicking a symbol checkbox does absolutely nothing, since it’s just a static character with no interactive behavior built in.
Enabling the Developer tab
File › Options › Customize Ribbon. In the right-hand list of main tabs, check the box next to Developer, then click OK. The Developer tab now appears in the main ribbon, alongside Home, Insert, and the other standard tabs, and stays enabled going forward for that installation of Word.
Adding a clickable checkbox
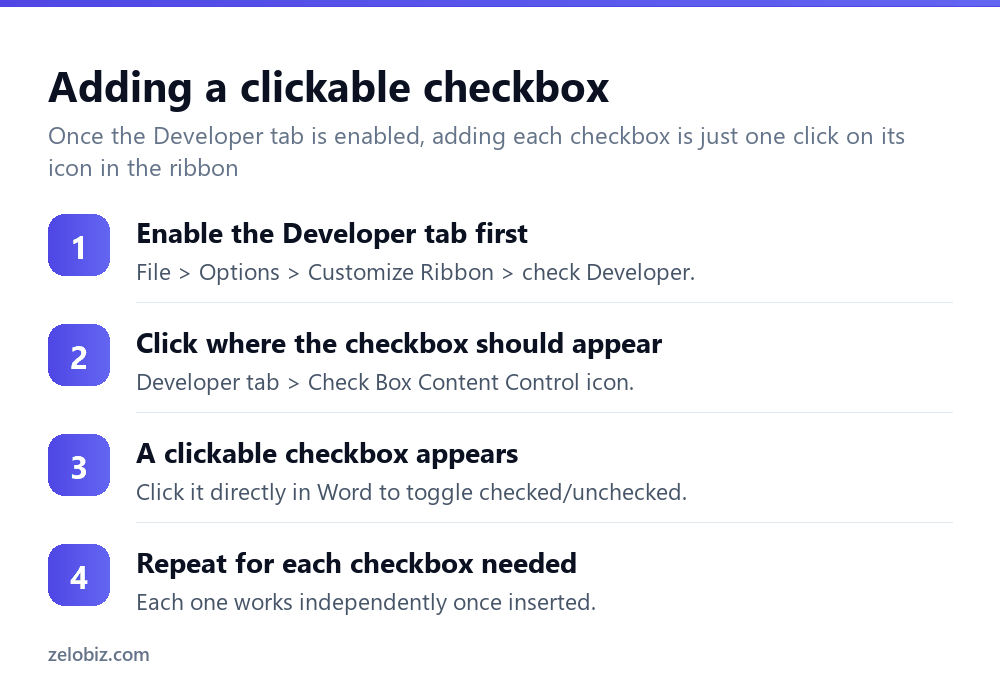
With the Developer tab enabled, click precisely where the checkbox should appear in the document.
Click the Check Box Content Control icon in the Developer tab’s Controls group — it looks like a small checked box.
A clickable checkbox appears at that position. Click it directly (in Word itself, not just visually) to toggle it between checked and unchecked.
Repeat for each checkbox needed throughout the document — each one is independent, so checking one has no effect on any of the others.
Adding a printable checkbox symbol
Insert › Symbol › More Symbols, then change the Font dropdown to Wingdings, where a checkbox-shaped character is available among the symbol set (typically near character code 163, though the exact position can vary slightly by Word version).
Alternatively, for a list of several checkbox items in a row, create a bulleted list and set the bullet character itself to the same Wingdings checkbox symbol via Home › Bullets › Define New Bullet › Symbol, which automatically places a checkbox-style bullet in front of every list item without needing to insert the symbol individually for each one.
Locking a form so only checkboxes can be changed
For a document being sent out for others to fill in — where checkboxes should be clickable but the surrounding text shouldn’t be editable at all — Restrict Editing (Developer tab, or Review › Restrict Editing) offers a “Filling in forms” restriction option specifically, which locks everything except form fields like Content Control checkboxes, letting a recipient interact only with the intended interactive elements rather than being able to edit the document’s actual content.
A worked example: building a digital sign-off checklist
Say a team needs a checklist document that gets emailed around and filled out digitally — several tasks, each with a checkbox, that people mark off directly in Word before forwarding it on.
Enable the Developer tab first if it isn’t already visible, then for each checklist item, click at the start of that line and insert a Check Box Content Control from the Developer tab. Type the task description directly after each checkbox on the same line, so the finished document reads as a normal checklist with a genuinely clickable box in front of each item.
Once every item has its checkbox, consider whether the document should be locked down with Restrict Editing — if it’s purely informational and being filled in casually among trusted colleagues, this extra step may not be necessary. If it’s a more formal sign-off document where the task descriptions themselves genuinely shouldn’t be alterable, apply Restrict Editing with “Filling in forms” selected, which locks the descriptive text while leaving every checkbox fully clickable.
Send the finished document as a .docx file rather than converting it to PDF first if recipients need to actually check the boxes themselves — converting to PDF before sending removes the ability to click and toggle the checkboxes in most cases, since the interactive behavior depends on the file remaining in a format Word (or an equivalent form-aware editor) can render as live, clickable controls, not a flattened static PDF page.
Checkboxes inside a table
A checklist is often laid out as a table — one column for the checkbox, another for the task description, perhaps a third for a due date or owner. Content Control checkboxes work exactly the same way inside a table cell as they do in regular paragraph text; click into the specific cell where the checkbox should sit, then insert it from the Developer tab exactly as described above. This is a genuinely common and effective layout for a longer checklist, since a table keeps each checkbox, description, and any additional columns visually aligned in neat rows.
Reusing a checkbox form as a template
For a checklist or form that will be used repeatedly with the same structure but different specific content each time — a recurring weekly task list, for instance — save the document with all its checkboxes already inserted as a template (File, Save As, choosing Word Template as the file type) rather than a regular document. Opening a template creates a new document based on it each time, with all the checkboxes already in their correct positions and unchecked, ready to be filled in fresh without needing to rebuild the checkbox layout from scratch on every single use going forward from that point on.
When something’s not working right
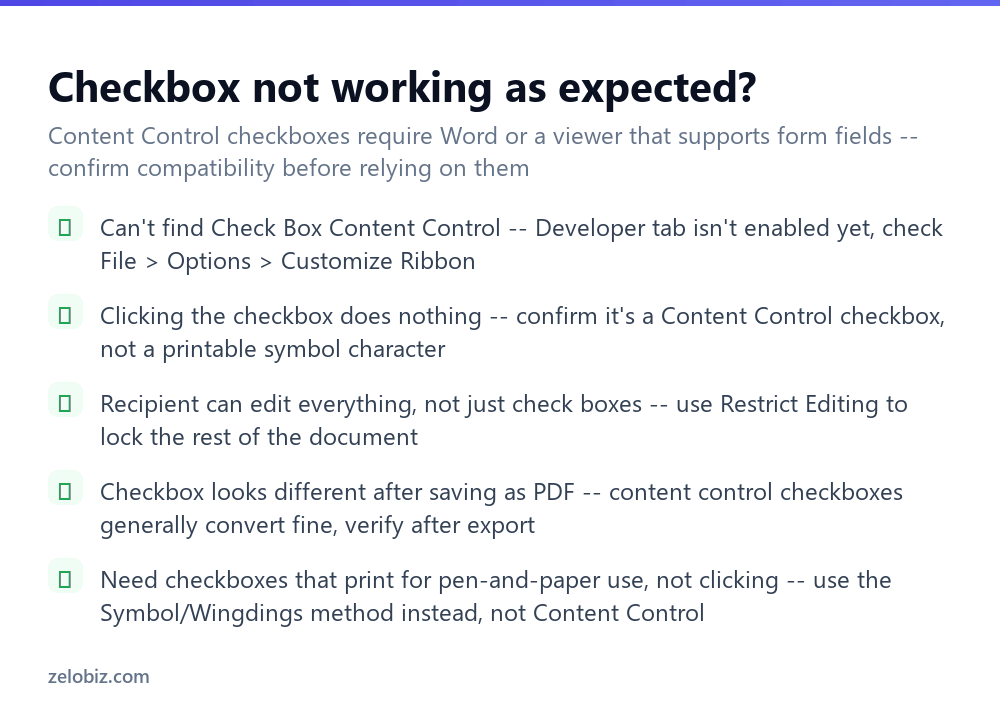
Can’t find Check Box Content Control anywhere — the Developer tab isn’t enabled yet; go back to File, Options, Customize Ribbon and check it.
Clicking the checkbox does nothing at all — confirm it’s genuinely a Content Control checkbox and not a printable symbol character that only looks similar; the symbol version has no click behavior by design.
A recipient can edit everything, not just check the boxes — use Restrict Editing with the “Filling in forms” option to lock the rest of the document’s content while still allowing form field interaction.
The checkbox looks different after exporting to PDF — Content Control checkboxes generally convert reasonably well to PDF form fields, but it’s worth verifying the exported result directly rather than assuming, since rendering can vary slightly depending on the specific PDF viewer used to check it afterward.
Whichever type ends up being used, confirming it works as intended — clicking it in Word itself, or genuinely printing cleanly — before sending the document out for real use avoids a recipient discovering the mismatch themselves partway through filling something in.
- ✓Decide upfront whether the checkbox needs to be clickable or just printable
- ✓Enable the Developer tab before looking for Check Box Content Control
- ✓Use Restrict Editing to lock everything except intended form fields
- ✓Verify checkbox appearance after exporting to PDF rather than assuming
- ✓Use the Wingdings symbol method specifically for a pen-and-paper printed form
- ✕Assuming a printable symbol checkbox will respond to clicks the way a form field does
- ✕Forgetting the Developer tab is hidden by default and needs to be enabled first
- ✕Sending an editable form with no Restrict Editing, letting recipients change anything
- ✕Skipping a PDF export check when the document will ultimately be shared as PDF
- ✕Using Content Control checkboxes for a document that will only ever be printed and marked by hand
Frequently asked questions
How do I insert a clickable checkbox in Word?
Enable the Developer tab (File, Options, Customize Ribbon), then use Check Box Content Control from that tab to insert one that toggles when clicked.
How do I insert a checkbox that I can print and check by hand?
Use Insert, Symbol, More Symbols, and select a checkbox character from the Wingdings font — this is a static symbol, not clickable in Word.
Why is the Developer tab missing from my Word ribbon?
It’s hidden by default. Enable it via File, Options, Customize Ribbon, and check the Developer box.
Why doesn’t my checkbox respond when I click it?
It’s likely a printable symbol character rather than a Content Control checkbox — only the form-field version responds to clicks.
How do I stop someone from editing my document except for the checkboxes?
Use Restrict Editing (Review tab or Developer tab) with the ‘Filling in forms’ option, which locks everything except form fields.
Do checkboxes still work after converting the document to PDF?
Content Control checkboxes generally convert to functional PDF form fields, but it’s worth verifying directly in the exported PDF rather than assuming.
- →Add labels alongside checkboxes: how to make labels in Word
- →Track edits to a form before finalizing: how to track changes in Word
- →Add explanatory notes to a form: how to add footnotes in Word
- →Share the finished form as PDF: how to convert Word to PDF