

To add a header in Word, double-click the top margin of any page — this is the fastest way in — or go to Insert › Header and choose a built-in style. Type or format the header content, then click outside the header area when finished. It applies automatically to every page in the document by default. For an unnumbered title page, different content on odd versus even pages, or genuinely different headers in different sections, additional settings (Different First Page, Different Odd & Even, and Section Breaks) handle those specific cases.
The basics and the common customizations
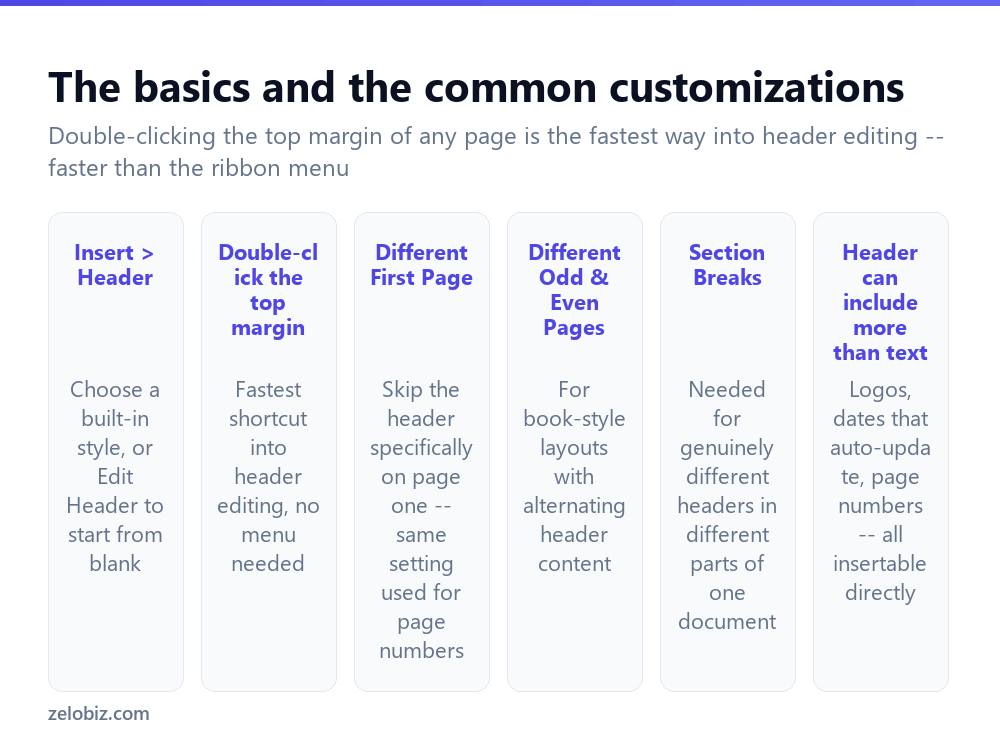
Insert › Header offers a gallery of built-in styles with pre-set formatting and layout, or an Edit Header option to start from a genuinely blank header instead.
Double-clicking the top margin of any page is the fastest route in, jumping directly into header-editing mode without navigating any menu at all — genuinely quicker once it becomes a habit than going through the Insert tab each time.
Different First Page (a checkbox under Header & Footer Tools once editing a header) — the same setting used for skipping a page number on a title page also independently controls the header, letting a cover page have no header, or a different one, from the rest of the document.
Different Odd & Even Pages — lets header content alternate between odd and even pages, common in a book-style layout where, for instance, the document title sits on even pages and the current chapter title sits on odd pages.
A header can hold more than plain typed text — a company logo image, an automatically-updating date field, or even a page number field can all be inserted directly into the header area, combining several elements in the same header if needed.
Adding a basic header
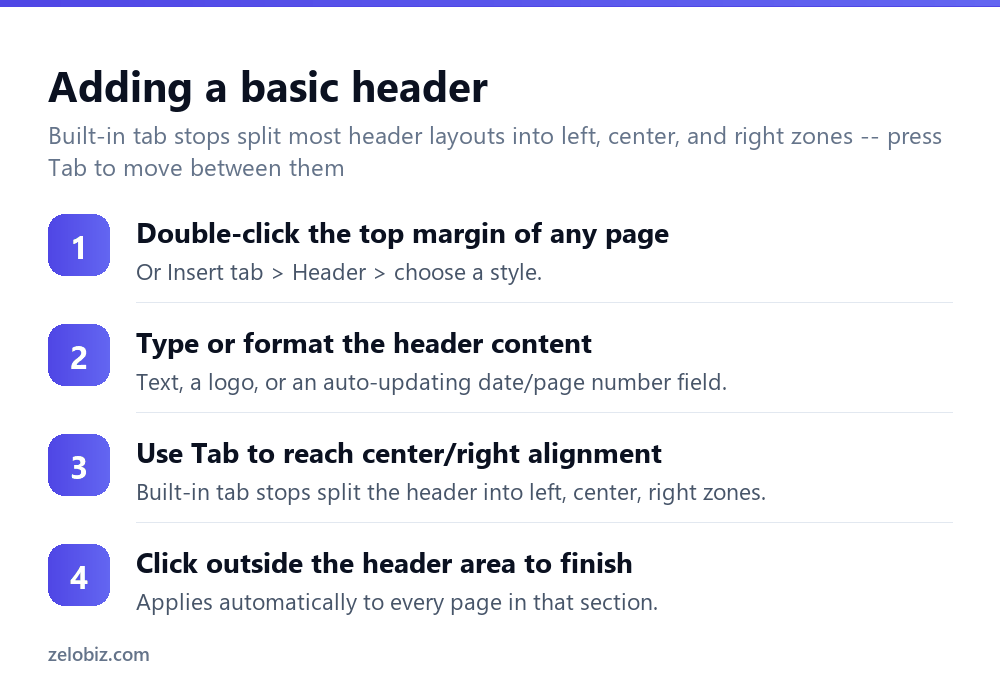
Double-click the top margin of any page, or use Insert › Header and select a style.
Type or format the header’s actual content — plain text, or insert additional elements (a logo, a date field) using the options available in the Header & Footer Tools tab that appears while editing.
Press Tab to move between the header’s built-in alignment zones — most header layouts include invisible tab stops splitting the line into left, center, and right sections, letting different content sit in each without manually adding spacing to try to line things up.
Click outside the header area (anywhere in the main document body) to finish editing. The header applies automatically to every page within that section from this point.
Different headers in different parts of a document
For genuinely different header content in different parts of the same document — not just skipping the first page, but distinct header text for, say, each chapter — a Section Break is required, the same underlying mechanism covered in detail in the page numbers guide linked below.
Insert a Section Break (Layout › Breaks › Section Breaks › Next Page) at the point where the header should change. Click into the new section’s header, and click Link to Previous to turn it off — without this step, the new section’s header stays tied to and mirrors the previous section’s content, regardless of any changes made to it. With linking off, that section’s header can be edited completely independently.
Adding a logo to a header
With the header active for editing, Insert › Pictures works exactly the same inside a header as it does in the main document body — select an image file, and resize it to fit comfortably within the header’s available vertical space, which is generally fairly limited compared to the main page area.
A worked example: a report with a running chapter title
Say a multi-chapter report needs its header to display the current chapter’s title, changing automatically as the reader moves from one chapter to the next, rather than one static header repeated identically throughout the whole document.
Insert a Section Break (Next Page) at the start of each new chapter, then for each chapter’s header, click into it, turn off Link to Previous, and type that specific chapter’s title directly into the header. This is genuinely manual — Word doesn’t automatically detect chapter titles from the body text and mirror them into the header on its own — but once each section’s header is set independently this way, it stays fixed for that chapter and switches to the next chapter’s title exactly at the section break.
Test the result by scrolling through the whole document afterward, confirming each chapter’s pages genuinely show that chapter’s title in the header and not a leftover title from the previous chapter — a missed Link to Previous toggle on any one section is easy to overlook and results in that specific chapter quietly displaying the wrong title.
For a document expected to have chapter titles added or renamed later in the editing process, it’s worth a final header-by-header check right before the document is considered finished, since a chapter retitled late in editing needs its header manually updated to match — this doesn’t happen automatically the way a table of contents entry or a cross-reference would.
Headers that reference the document title automatically
Rather than manually typing the document’s title into a header, Insert › Quick Parts › Document Property › Title inserts a field that automatically displays whatever title is set in the document’s own properties (File › Info). Changing the title there updates the header field automatically wherever it’s used, without needing to manually retype it in every header across a document with multiple sections — genuinely useful for keeping a consistent, correct title displayed without manual upkeep as a document evolves.
When something’s not looking or behaving right
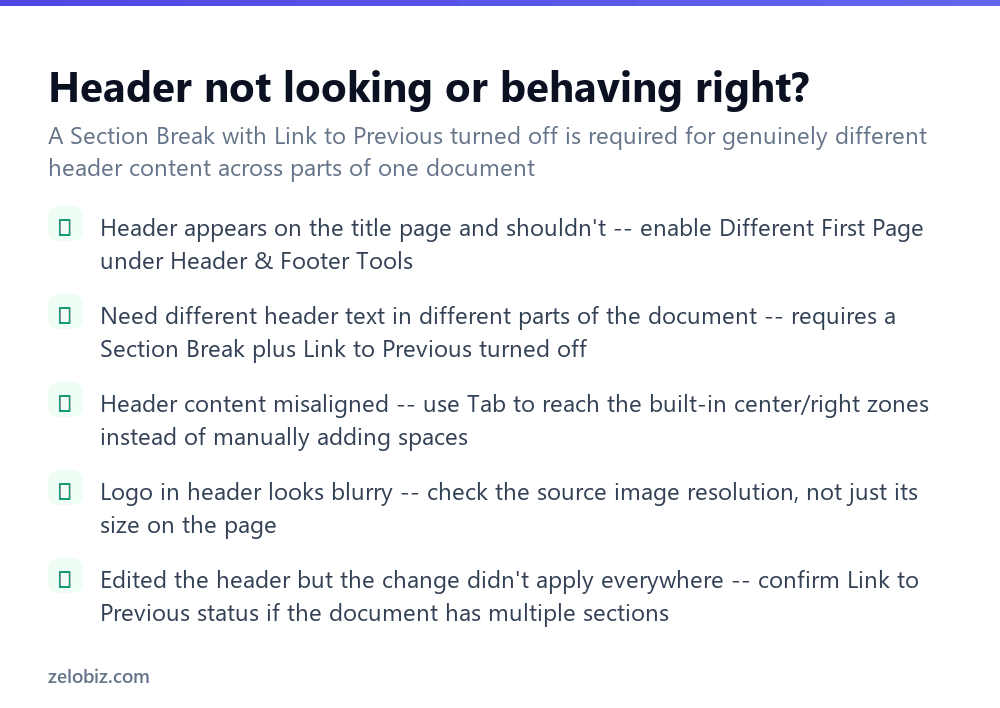
The header appears on the title page and shouldn’t — enable Different First Page under Header & Footer Tools, the same setting that also controls whether a page number appears there.
Need different header text in different parts of the document — requires a genuine Section Break with Link to Previous turned off for that new section; a single header setting alone can’t vary partway through a document without one.
Header content looks misaligned — use Tab to reach the built-in center and right zones rather than manually typing spaces to try to position text, which rarely aligns precisely and breaks easily if the header text or margins change later.
A logo in the header looks blurry — check the source image’s actual resolution, not just how large it appears on the page; a low-resolution source image will look soft in a header regardless of how it’s resized there.
An edited header didn’t apply everywhere expected — if the document has multiple sections, confirm the Link to Previous status for each one, since an unlinked section won’t reflect edits made to a different section’s header.
As with page numbers, the underlying Section Break and Link to Previous mechanics are what make every advanced header scenario possible — once that concept clicks, customizing headers for any specific document structure becomes a matter of applying the same technique rather than learning something new each time.
- ✓Double-click the top margin for the fastest way into header editing
- ✓Use Tab to reach built-in alignment zones instead of manually typing spaces
- ✓Use Different First Page for a title page that shouldn’t show a header
- ✓Use a Section Break with Link to Previous off for genuinely different header content
- ✓Check source image resolution before adding a logo, not just its displayed size
- ✕Manually adding spaces to try to align header text instead of using Tab
- ✕Assuming Different First Page alone allows different headers throughout the document
- ✕Forgetting to unlink Link to Previous when a new section needs an independent header
- ✕Using a low-resolution logo image and expecting it to look sharp once resized
- ✕Editing a header without checking whether the document has multiple linked or unlinked sections
Frequently asked questions
How do I add a header in Word?
Double-click the top margin of any page, or use Insert, Header, and choose a style — it applies to every page in the document automatically.
How do I remove the header from just my title page?
Enable Different First Page under Header & Footer Tools while editing the header, then clear that first page’s header content specifically.
How do I use a different header on different parts of my document?
Insert a Section Break, then turn off Link to Previous for that new section’s header, which lets it be edited completely independently.
How do I center text in my header?
Press Tab once (or twice for right alignment) to reach the header’s built-in center and right zones, rather than typing spaces manually.
Can I put a logo in my header?
Yes. With the header active, use Insert, Pictures the same way you would in the main document body, then resize it to fit the header’s available space.
Why didn’t my header edit apply to the whole document?
If the document has multiple sections, check whether Link to Previous is turned off for any of them — an unlinked section won’t reflect edits made elsewhere.
- →Add matching page numbers: how to add page numbers in Word
- →Frame the page with a border too: how to add a border in Word
- →Build navigation for a longer document: how to make a table of contents in Word
- →Share the finished document: how to convert Word to PDF